XFCE Remote Desktop Installation Debian 9 Stretch
We will use XFCE Desktop to configure Plex media server and Calibre Ebook server. We can also download files with our bittorrent client Transmission (I’m just sayin’). SSH into your server and SU to root. Type or copy and paste the commands below into you SSH window.
apt-get update
apt-get upgrade
apt-get install xfce4
This will take about 10 or 15 minutes to run depending on how powerful your server is.
When it completed you may want to add a few more programs. Input the command below to install Transmission bittorrent client, Filezilla SFTP/FTP client, and Firefox browser.
apt-get install transmission filezilla firefox-esr -y
X2go Server installation
We will use X2go server and desktop client to view and interact with our desktop. I like X2go much more than RDP for linux, it seems to have less lag. X2go uses SSH as a tunnel, so we do not have to open a port for it. X2go uses SSH port 22 which is already open in our firewall configured by VestaCP.
First we have to add the X2go key:
apt-get install dirmngr
apt-key adv --recv-keys --keyserver keys.gnupg.net E1F958385BFE2B6E
Now we add the X2go repo by editing /etc/apt/sources.list.d/X2go.list
vi /etc/apt/sources.list.d/x2go.list
Add the repo info
deb http://packages.x2go.org/debian stretch main
Save and close the document.
Now update
apt-get update
Install X2go server
apt-get -y install x2goserver x2goserver-xsession
Now download and install the X2go client to your local computer. Start the X2go client and click the Session menu on the upper left hand corner of the client. Fill in your server info as illustrated in the image below. Don’t forget to select XFCE from the “Session type” menu at the bottom of the form. Click OK, then select the server connection you just created from the right hand panel of the X2go client.

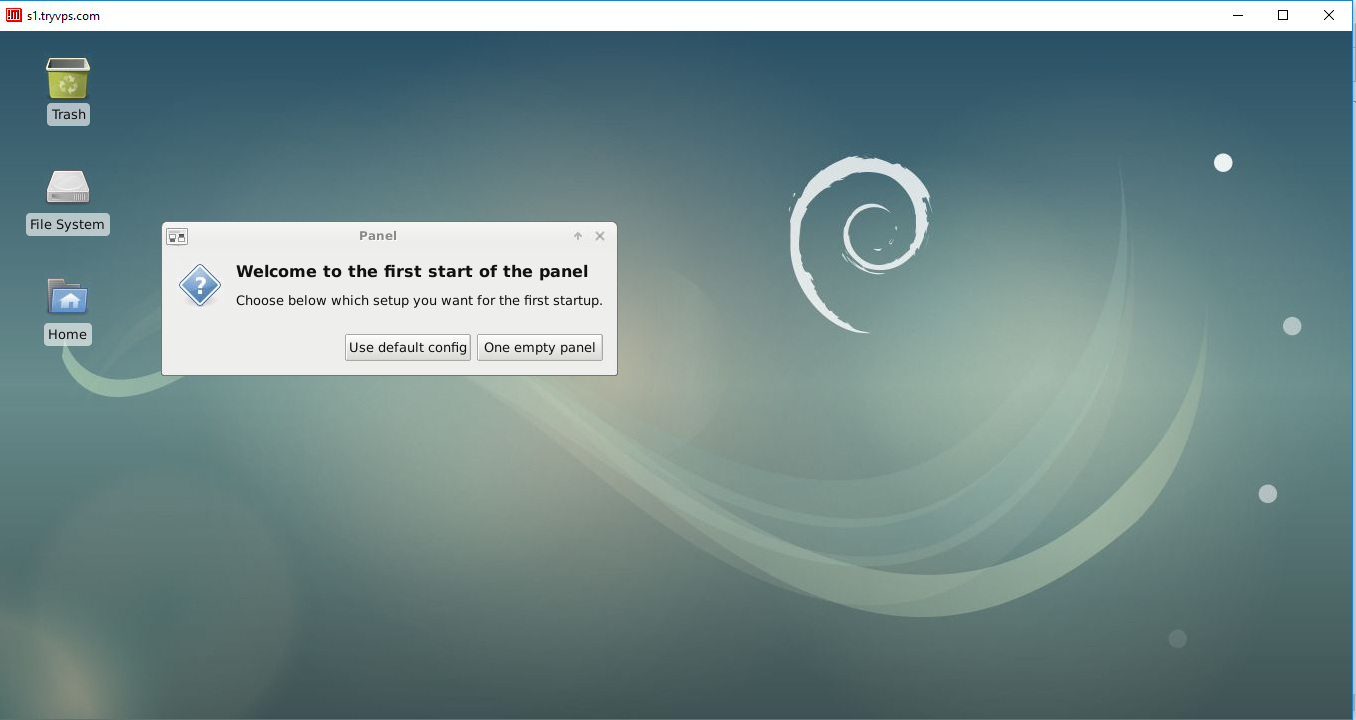
You should be greeted with a desktop like below.
Connecting via RDP (Remote Desktop Protocol)
Every Windows PC comes with RDP. You can find it on Windows 10 by clicking the Start button then going to Windows Accessories. This means you can connect to your server from any Windows PC, where if you use X2go you will have to install that on your local PC first. RDP also has Android apps and X2go does not.
First we must install XRDP Server. Connect to your server via SSH and SU to root. Then type:
apt-get -y install xrdp tigervnc-standalone-server
Before we connect to our XFCE desktop with RDP we will need to open port 3389 with VestaCP. Sign in to your control panel and click the “Firewall” link at the top of the control panel. Now click the green “+” ADD RULE link. Fill in the form as illustrated below.
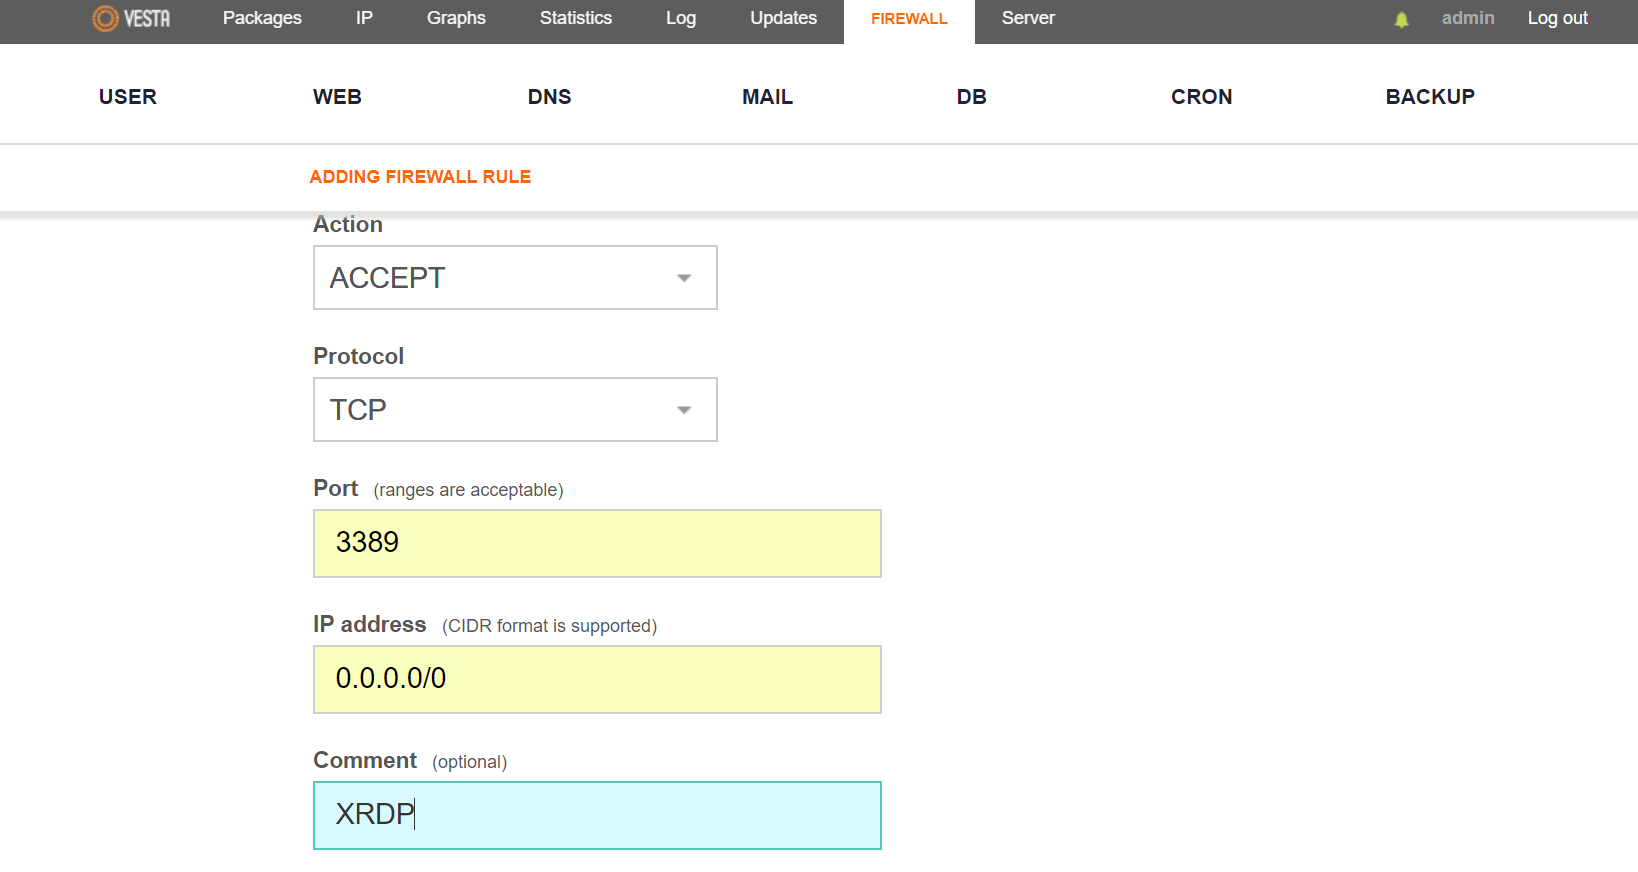
For the “Action field choose “Acceppt”
For the “Protocol” filed Choose “TCIP”
For “Port” type in “3389” without the quotation marks.
For “IP address” type in “0.0.0.0/0” without the quotation marks.
For “Comment” type in “XRDP” without the quotation marks.
Click the green “Add” button
We are now ready to connect with our Windows Remote Desktop Protocol client. On your local PC click the “Start” button, then go to “Windows Accessories” and select “Remote Desktop Connection”.
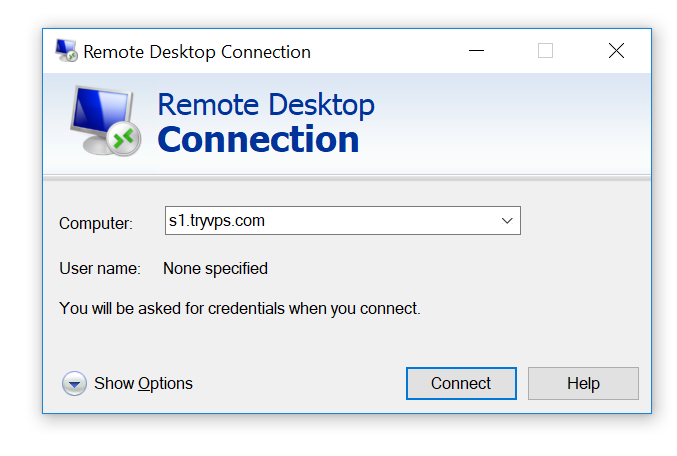
Type in your server hostname or IP number in the “Computer” field and click the “Connect” button.

For the “Session” field choose “Xvnc”
For “usename” type in “admin”
For “password” type in your VestaCP admin password.
Click the “OK” button.
You should now be looking at your XFCE desktop.