Nextcloud 13 Installation on Debian 9 And VestaCP
Nextcloud is a Dropbox like clone that permits you to access any files you choose from a web page interface, desktop program or Android and IOS apps for your phone or tablet.
This tutorial requires you to have VestaCP Control Panel and a domain set up with VestaCP. The previous tutorial shows how to do install VestaCP control panel and add a domain.
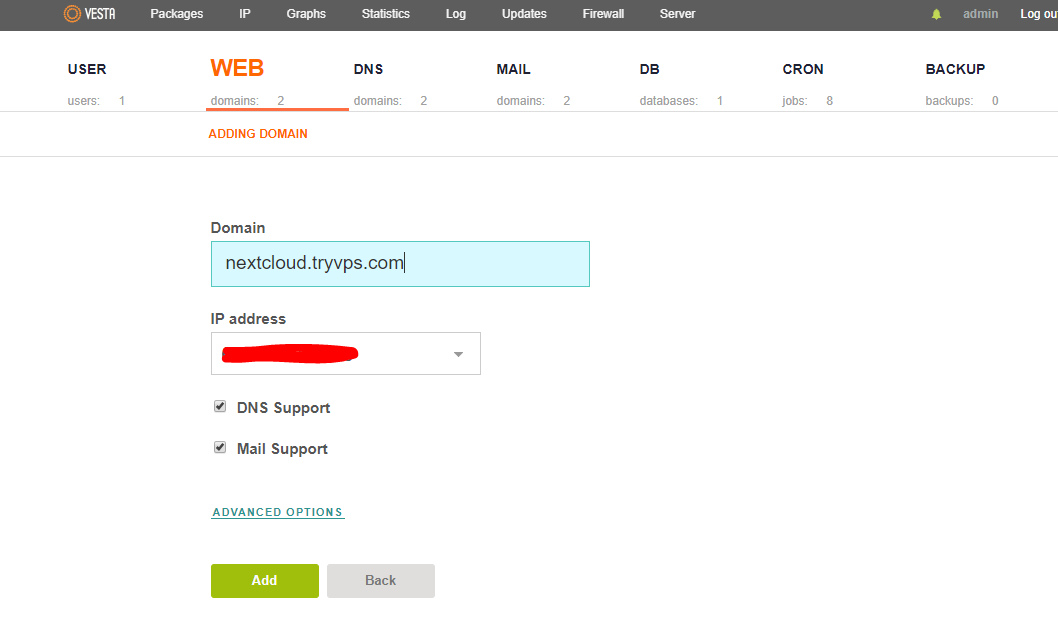
I will use tryvps.com as my domain . We need to make a 3rd level domain, nextcloud.tryvps.com . Click the “WEB” link at the top of the VestaCP page and then the green “+” ADD WEB DOMAIN button to create your Nextcloud address . You can use an entirely different domain or piggyback off another domain on your server. I prefer not to buy another domain so I will use nextcloud.tryvps.com. You can make the nextcloud portion of the domain whatever you like, I used nextcloud just to make it a little clearer.
Fill in the Domain field with the domain you wish to use for your Nextcloud. In my case nextcloud.tryvps.com . The IP address should already be filled in. Make sure “DNS Support” is checked. Click the “ADVANCED OPTIONS” link and make sure “SSL Support” is checked. Then make sure “Lets Encrypt Support” is checked. Click the green “Add” button.
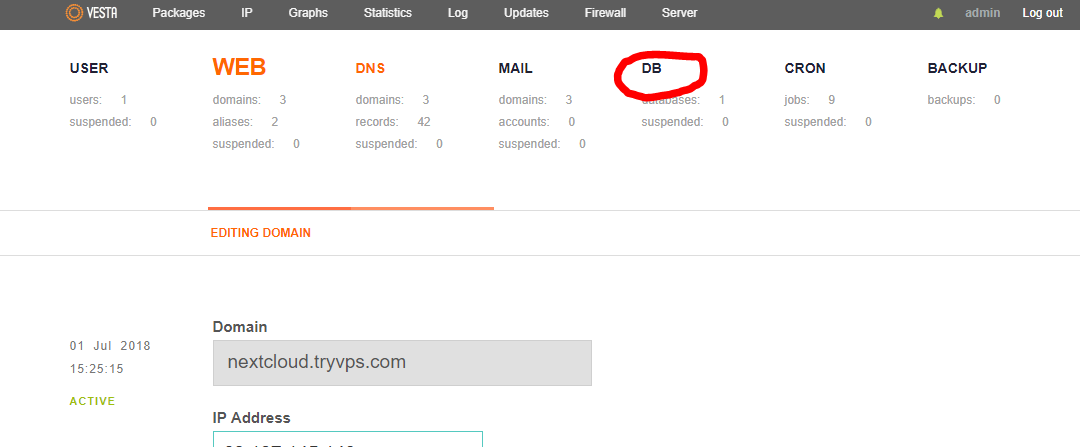
Now we need to create an Mysql database. Click the “DB” link near the top of the VestaCP control panel
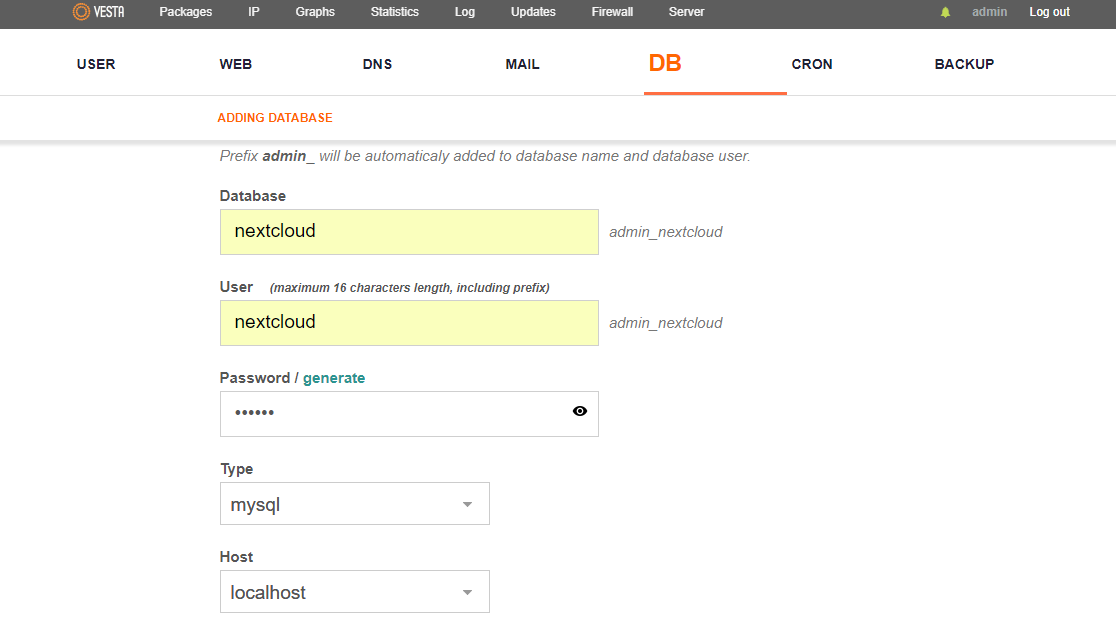
Click the green “+” ADD Database link. Now fill in the name of the database you wish to create and the name of the user you wish to create. I used “nextcloud” for both. Then add the password you wish to create for your database, you will need to know this when configuring the Nextcloud script, so remember it. Leave everything else as it is and click the green “Add” button at the bottom.
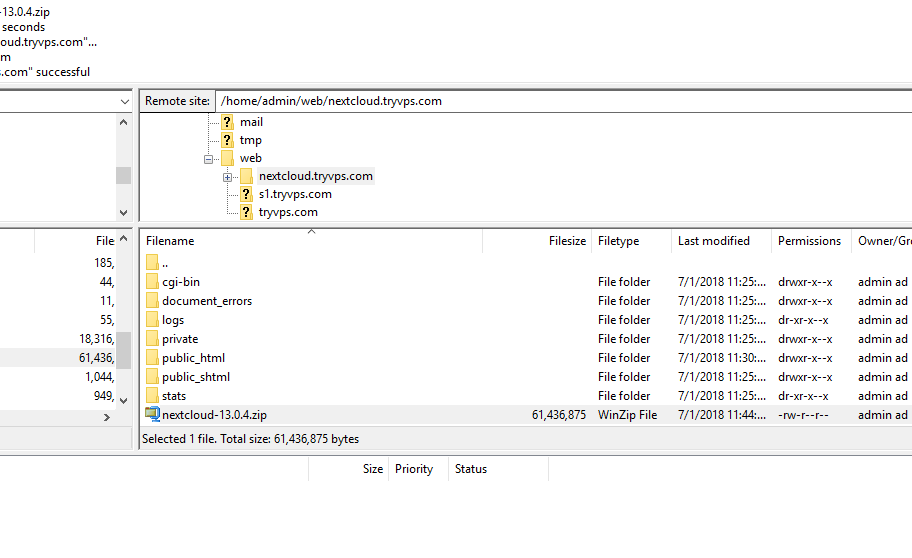
We now need to upload the Nextcloud zip install script to our domain. Go to the Nextcloud website and download the Nextcloud .zip file to your local computer (make sure you get the .zip file), then upload it to your domain on your server via SFTP to /home/admin/web/your.domain.com . In my case it would be /home/admin/web/nextcloud.tryvps.com .
SSH into your server user; admin and the password you use for VestaCP. Be sure to change the red your.domain.com to your nextcloud domain, in my case it would be nextcloud.tryvps.com .
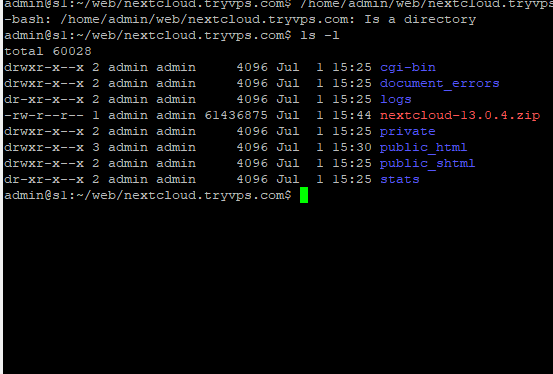
cd /home/admin/web/your.domain.com
type ls -l
You should see something like this:
Delete the public_html folder
rm -rf public_html
unzip the Nextcloud zip file
unzip nextcloud-13.0.4.zip you may have to change the name of the Nextcloud file when it is different from the version I used.
Rename the nextcloud folder to public_html
mv nextcloud public_html
You may delete the zip file now if you like
rm nextcloud-13.0.4.zip
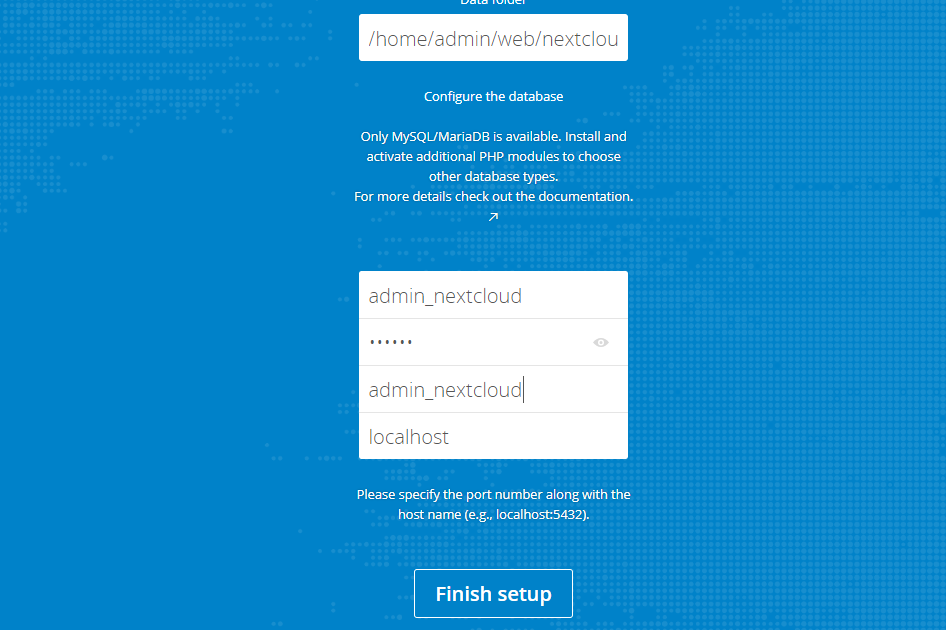
Go to https://your.domain.com in my case https://nextcloud.tryvps.com and fill out the form. You may put in any username and password, that will be your Admin account for your Nextcloud installation.
When it asks for database name, VestaCP adds the username_ with an underscore after it to the database and database username. So in my case it is admin_nextcloud for the database and the username. Put in the password you used to create your database and click “Finish setup”.
After a few minutes of the program configuring itself you should be greeted with this page:
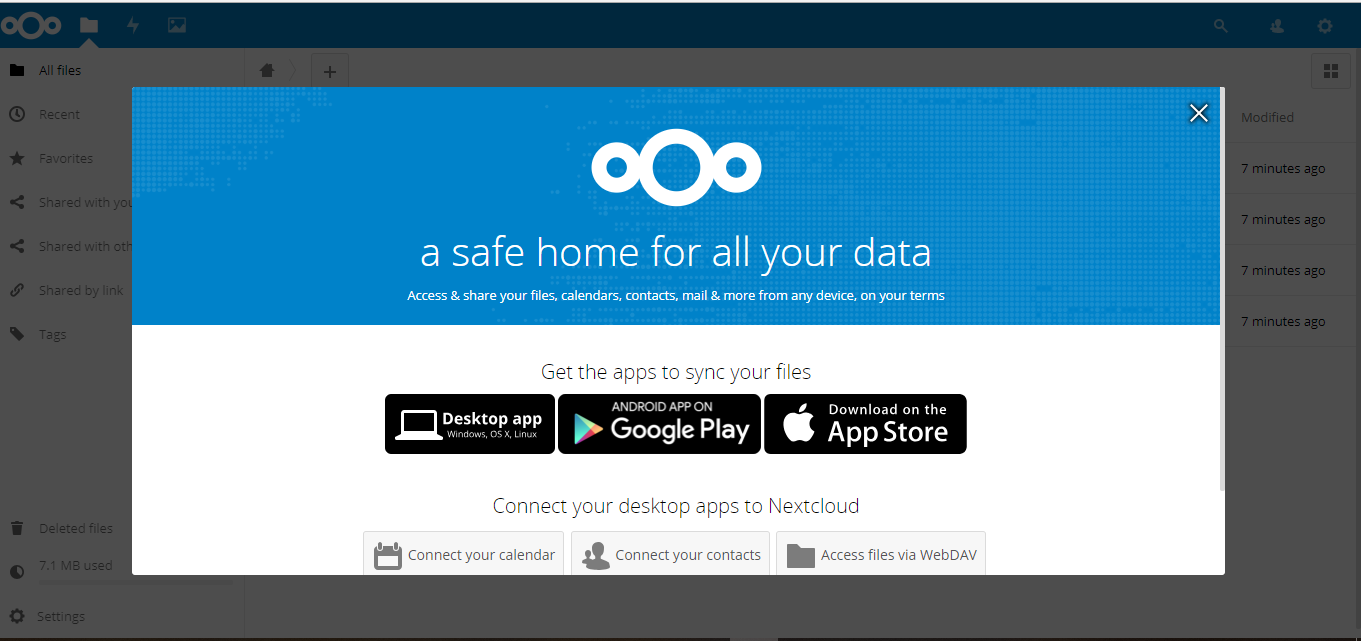
After it is set up on your server, download the desktop client from the Nextcloud web site and install it on your local PC. It also has Android and IOS apps.