VestaCP Control Panel on Debian 9
This is a guide to install VestaCp Control Panel on a VPS or dedicated server. VestaCP is a web page based server control panel which will allow you to easily configure web sites, DNS, email and MYSQL databases.
Requirements:
Root access to a VPS or dedicated server with a Debian 9 Stretch minimum fresh install. At least 2gb RAM, 8gb or more if you will be streaming videos, and as much hard drive space as possible. I am using Debian 9.4 64bit Stretch on a KVM virtual server with Common System Utilities and an SSH server installed. Create your server or VPS using s1.yourdomain.com as the hostname. in my case s1.tryvps.com.
A domain name at a registrar that lets you create your own nameservers. I recommend Namesilo, domains are very cheap there, $8.99 for a .com and lesser known tlds like .bid and .win can be registered for less than $2. When buying your domain create nameservers ns1.yourdomain.com and ns2.yourdomain.com and make sure your domain is pointed to the nameservers you just created (you will need your server i.p. number for this). I purchased tryvps.com for this tutorial and will use it throughout in all examples.
The ability to SSH as root to your server to copy and paste commands.
VestaCP Control Panel Installation
Let’s get started
You can copy and paste the commands below to install VestaCP. SSH as root to your server or VPS.
Update and install curl, wget and unzip:
apt-get update
apt-get upgrade
apt-get install curl wget unzip -y
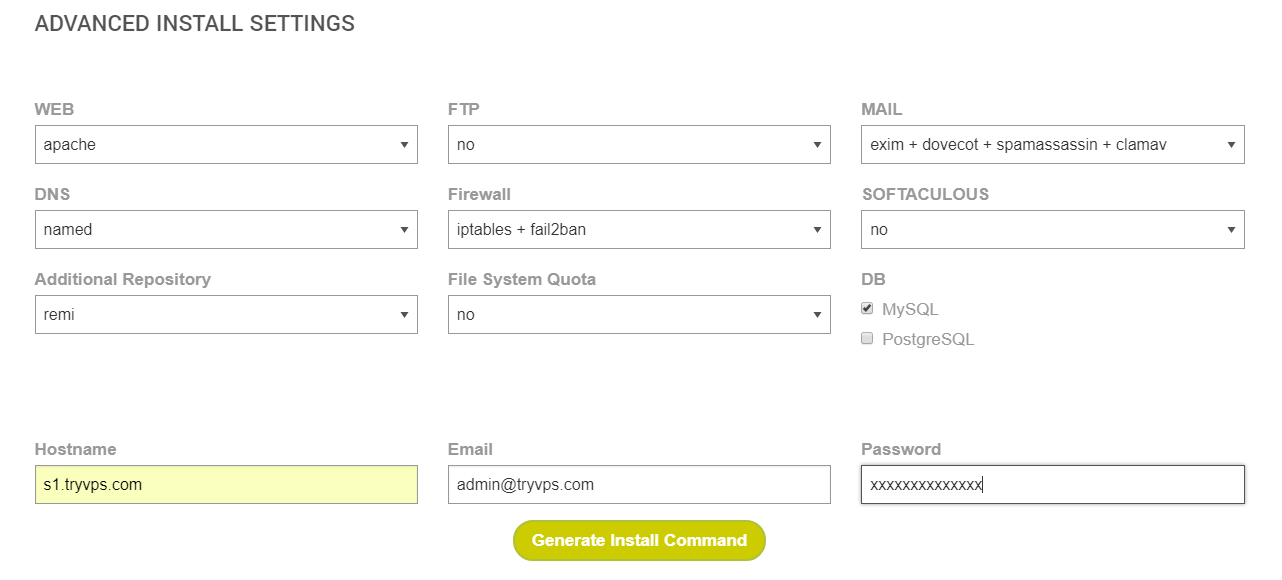
When installing VestaCP you can choose which components you would like to install at the VestaCP web site. I chose the following configuration because I don’t use FTP, I use SFTP. Apache and MYSQL work well with Nextcloud and this way I got Nextcloud to work with VestaCP. I am using Exim, Dovecot, Spamassassin and Clamav for email.
Click any image in this tutorial to see the full size image
To get the VestaCP install script type:
curl -O http://vestacp.com/pub/vst-install.sh
To run the script with the options I have chosen use the following command. Remember to change the options in red ( email, hostname and password ) to your server requirements. This will create a new user “admin” . You may want to use a different password than the one you use as “root” for security reasons.
bash vst-install.sh --nginx no --apache yes --phpfpm no --named yes --remi yes --vsftpd no --proftpd no --iptables yes --fail2ban yes --quota no --exim yes --dovecot yes --spamassassin yes --clamav yes --softaculous no --mysql yes --postgresql no --hostname s1.tryvps.com --email admin@tryvps.com --password xxxxxxxxxxxxxx
This will take about 15 minutes to run.
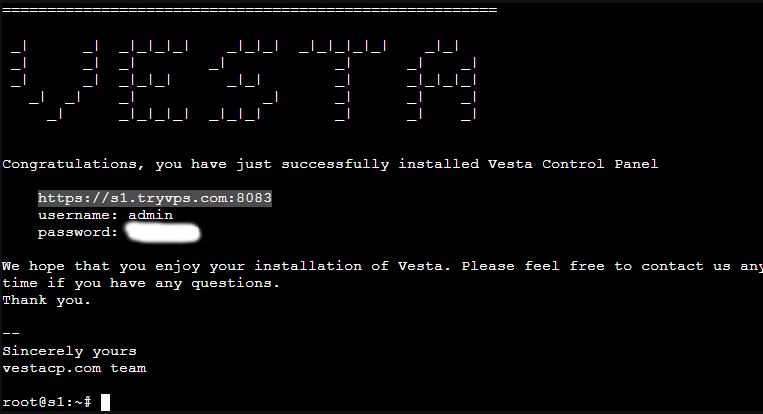
When the script is finished you can go to either:
https://hostname.com:8083 or in my case https://s1.tryvps.com:8083 or https://your_ip_number:8083
You will be met with warnings pages which state your connection is not secure. Ignore them and accept the security exceptions.
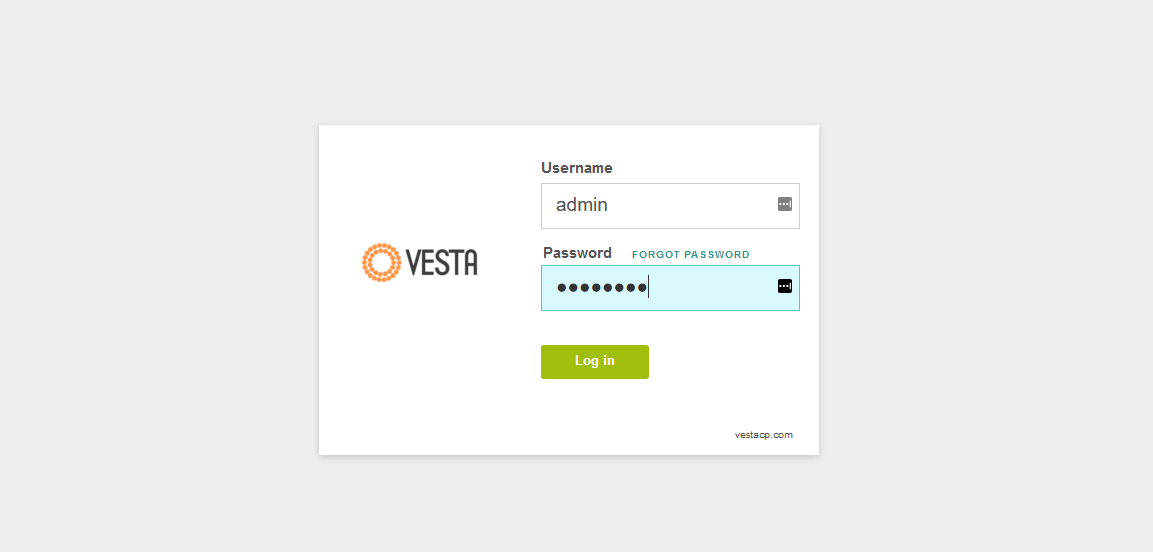
Login with: user admin and the password you entered in to the script.
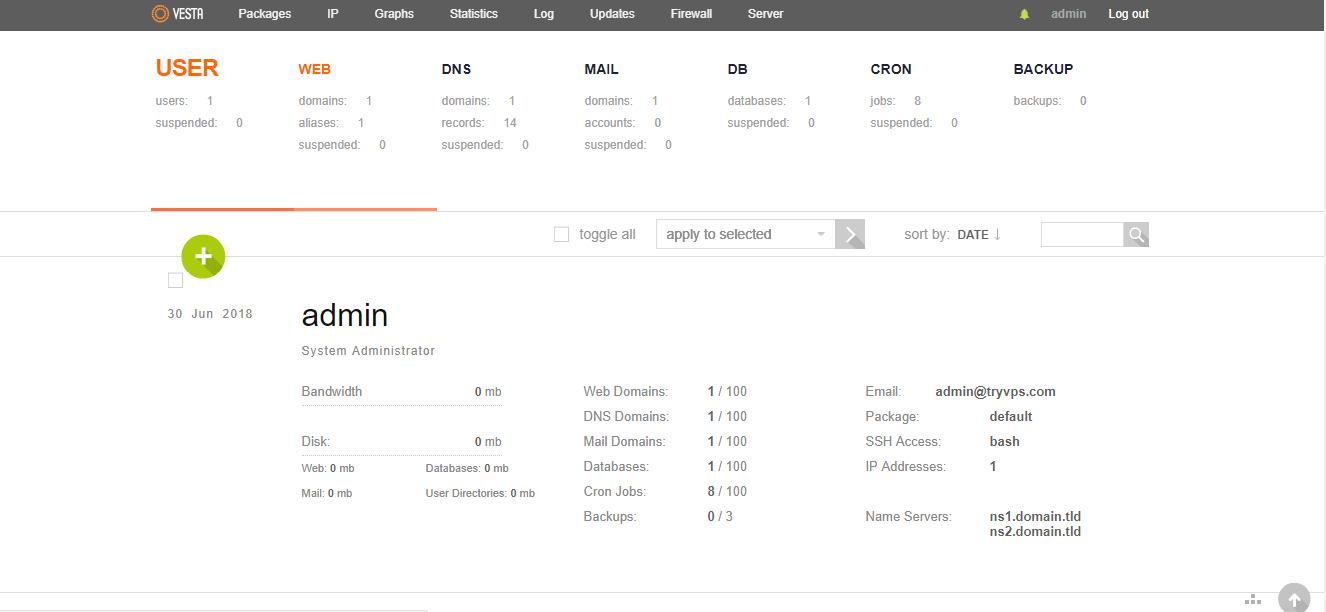
Domain and Nameserver Setup
Now I set up my website with the domain I purchased tryvps.com . Click the “WEB” link on the upper left of the control panel that is circled in red.
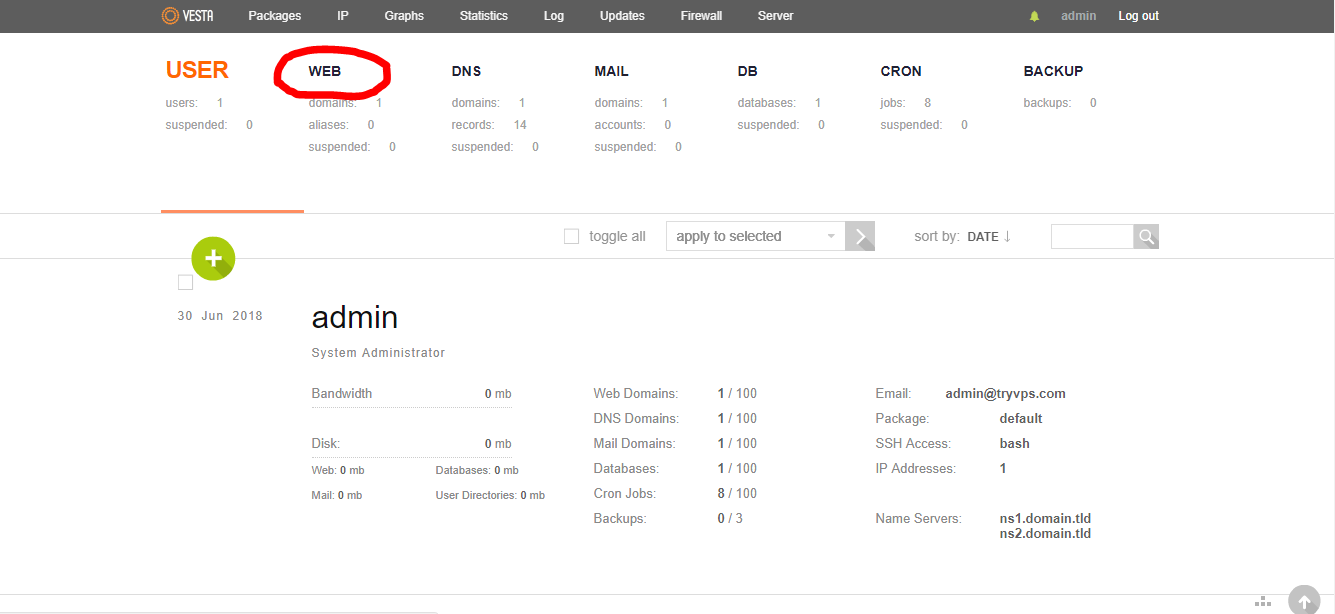
Now I want to add my domain so it will be visible via a http web page. http://tryvps.com . Click the green “+” ADD WEB DOMAIN link on the middle left side of the page:
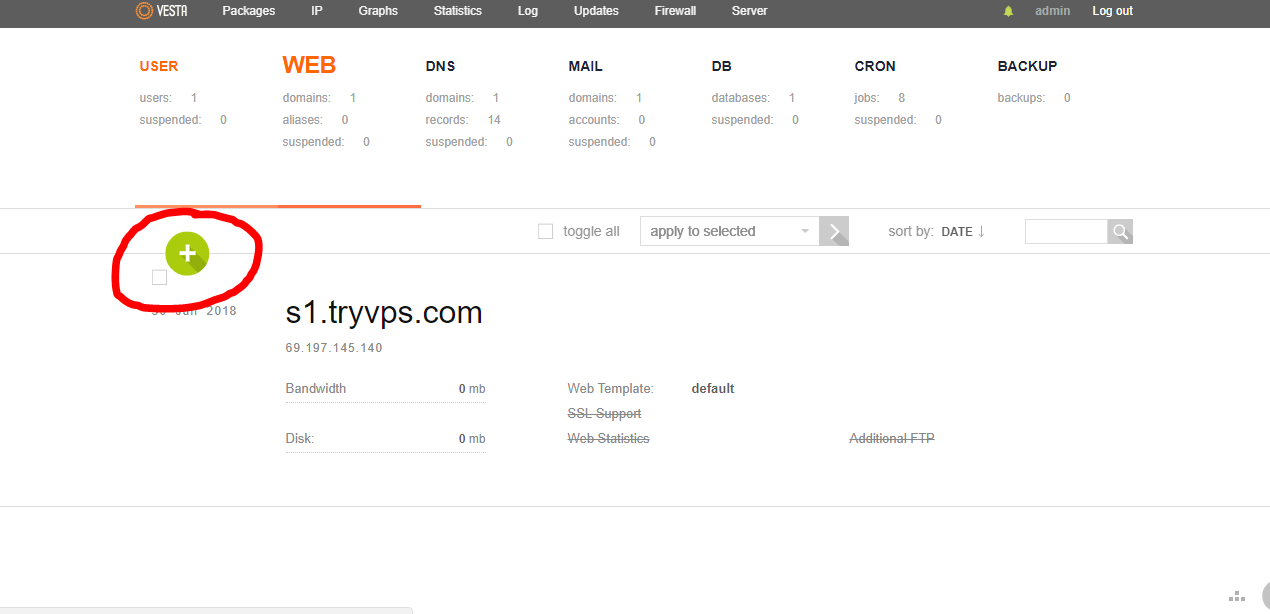
Type in your domain, the IP address field should already contain your server IP number. If not enter it into the field. You can always go back later to edit it to add SSL support and Web Statistics.
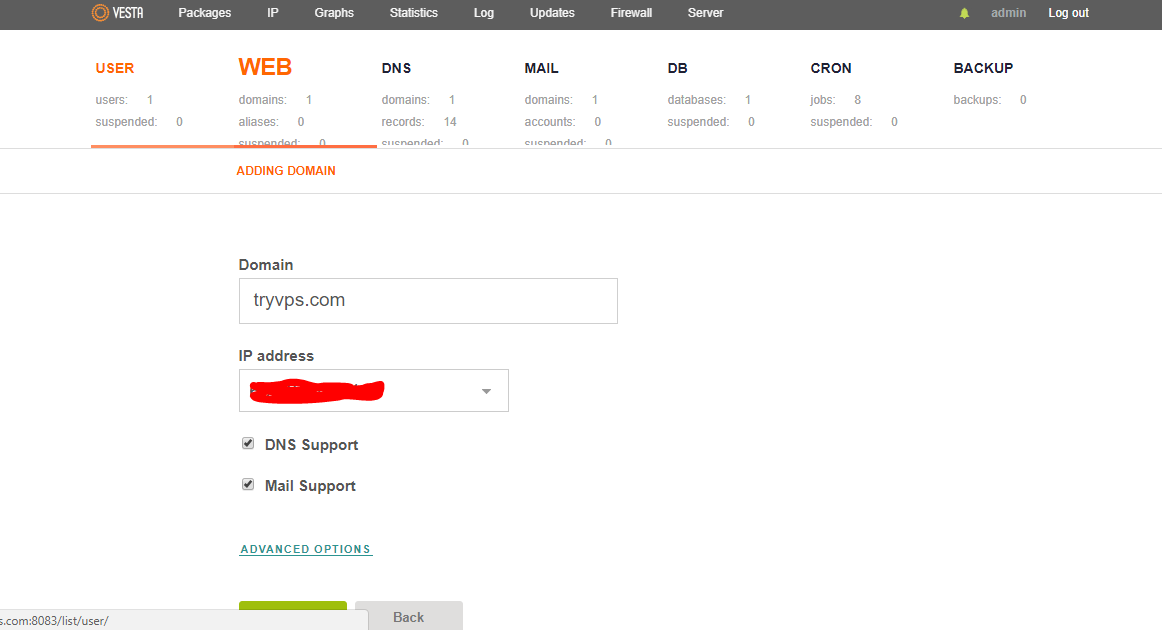
Click the Add button, then click the DNS link at the top of the panel
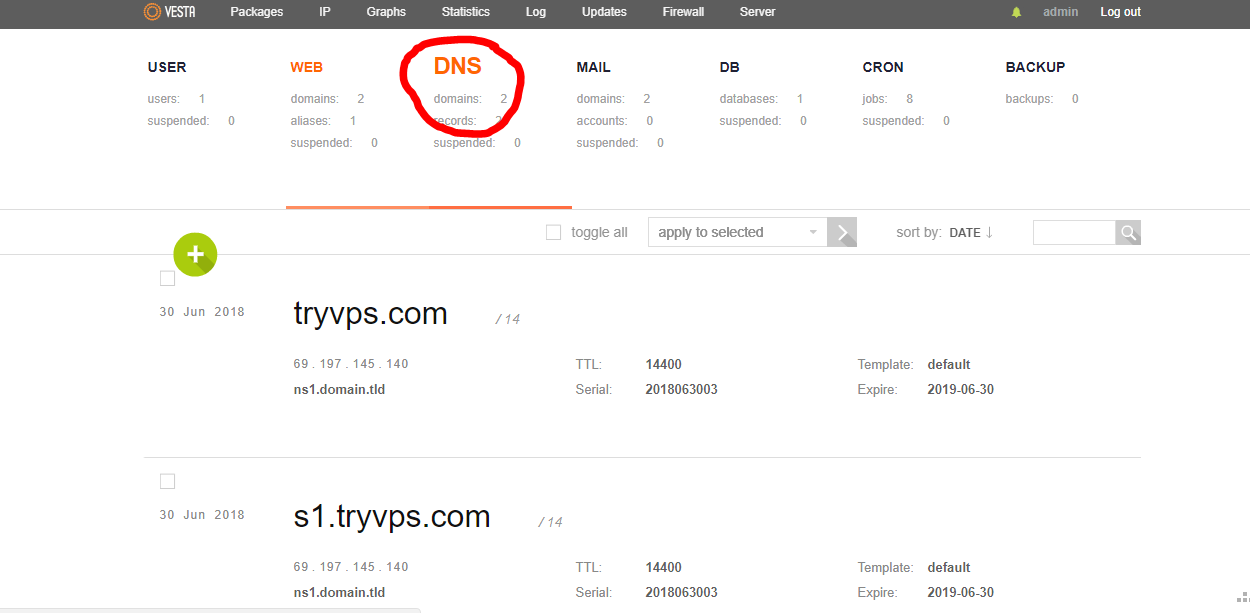
Now hover your cursor to the upper right of your domain name like pictured below and a menu will pop up. Click “EDIT” .
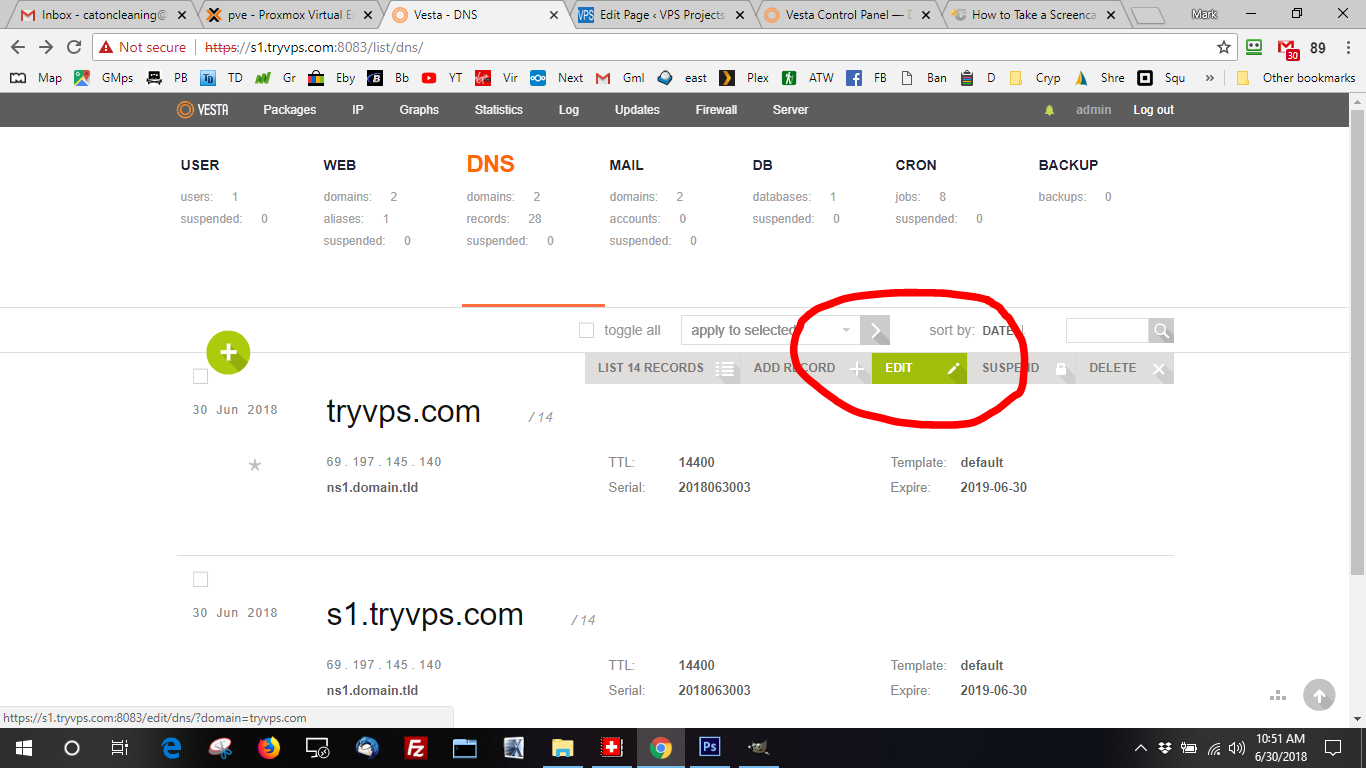
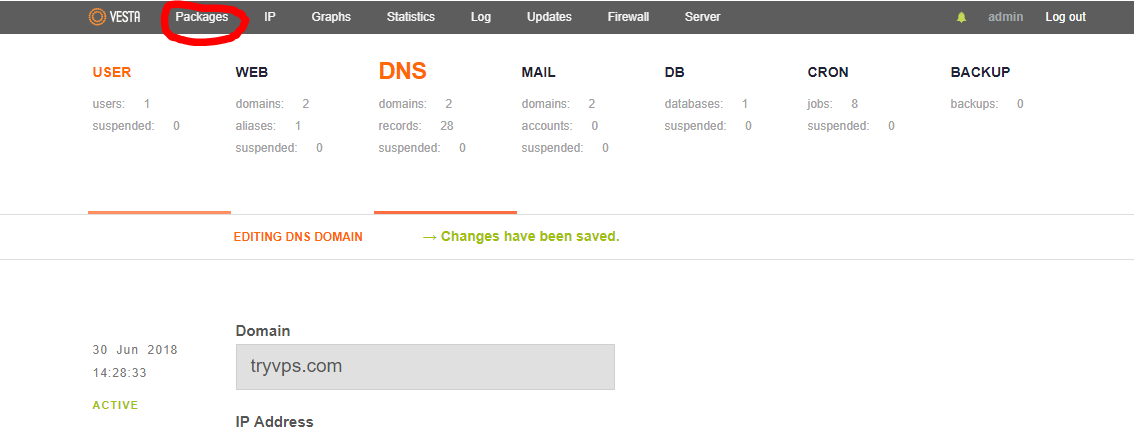
Go down to the “Template” field and select “child-ns” . Click the “SAVE” button. Now click the “Packages” link on the top left of the control panel like in red below.
Now we will edit the default template like below
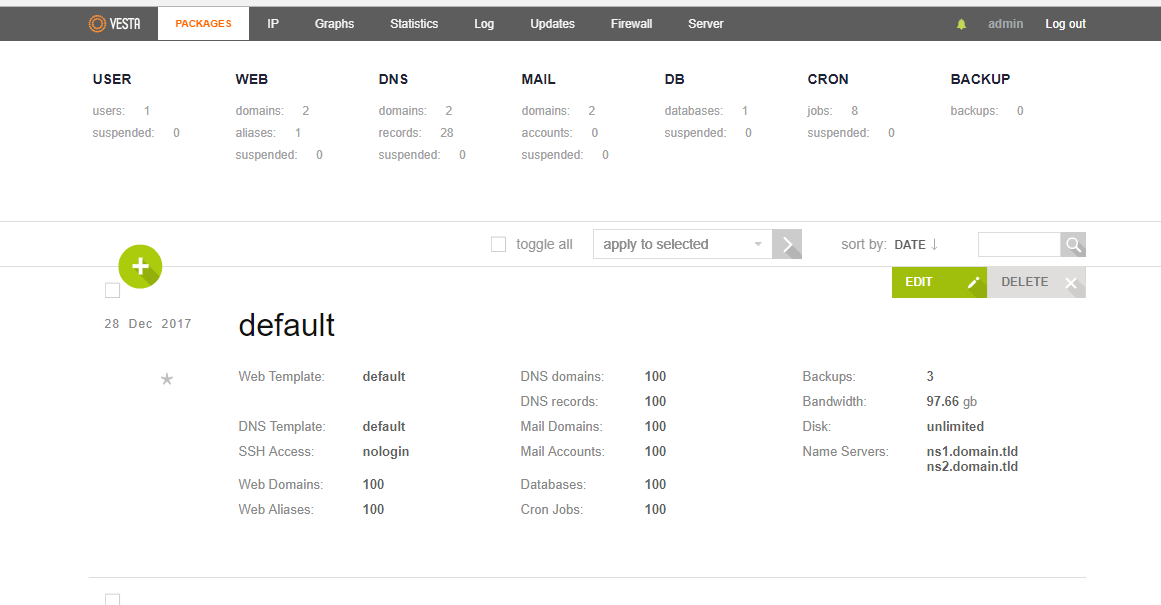
Scroll to the bottom of the form and set ns1.yourdomain.com and ns2.yourdomain.com as nameservers. For mine it would be ns1.tryvps.com and ns2.tryvps.com as pictured below. Then click the green “SAVE” button.
From now on whenever you want to add a domain to your server just change the nameservers to ns1.yourdomain.com and ns2.yourdomain.com, in my case it would be ns1.tryvps.com and ns2.tryvps.com, at your registrar, then add the domain with VestaCP, make sure “DNS Support” is checked and you’re all set. You may host as many domains as you like.

You should be able to see your domain in your web browser when you type http://yourdomain.com. In my case http://tryvps.com

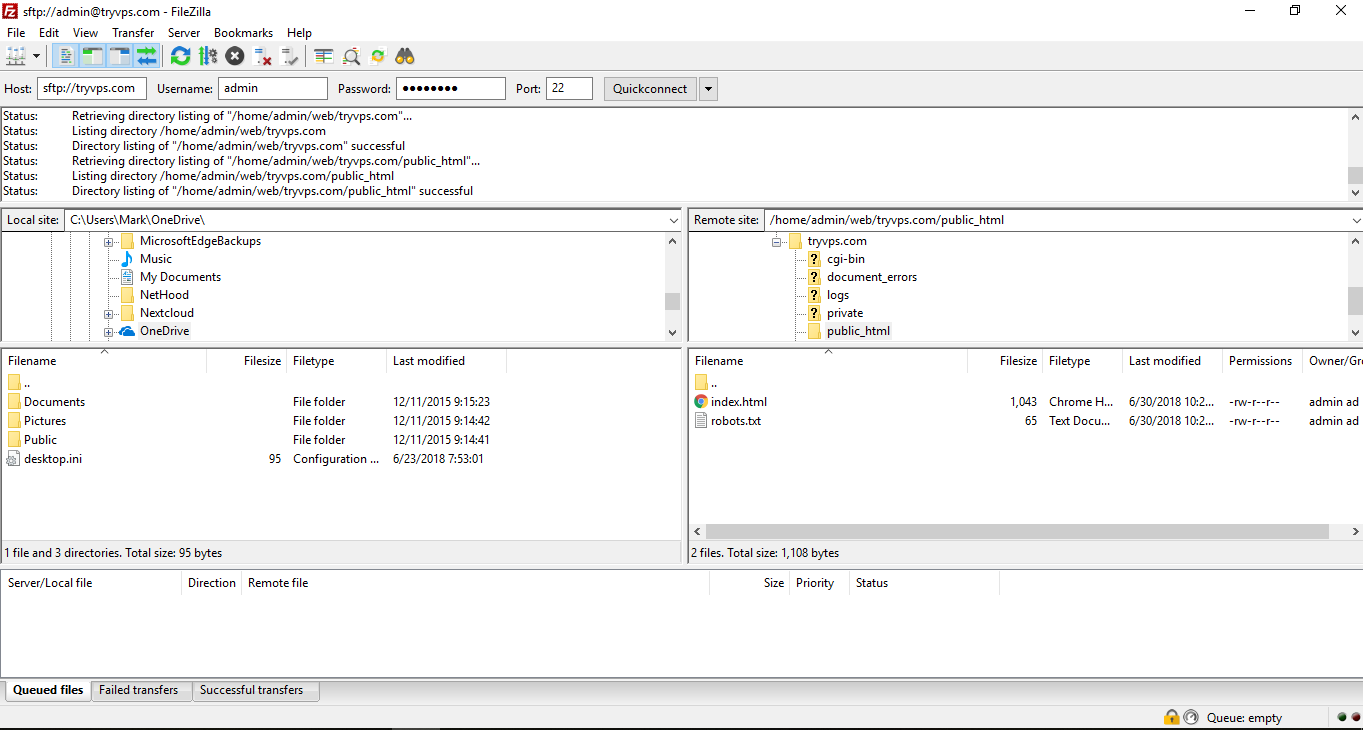
To upload files to your web site use an SFTP client like Filezilla a free opensource SFTP and FTP client. The files for your web site will be in /home/admin/web/yourdomain.com/public_html . Remember to use port 22 and SFTP, not FTP, we do not have an FTP server configured.
Email Configuration
Now to configure email for the domain. Click the “MAIL” link at the top of VestaCP control panel.
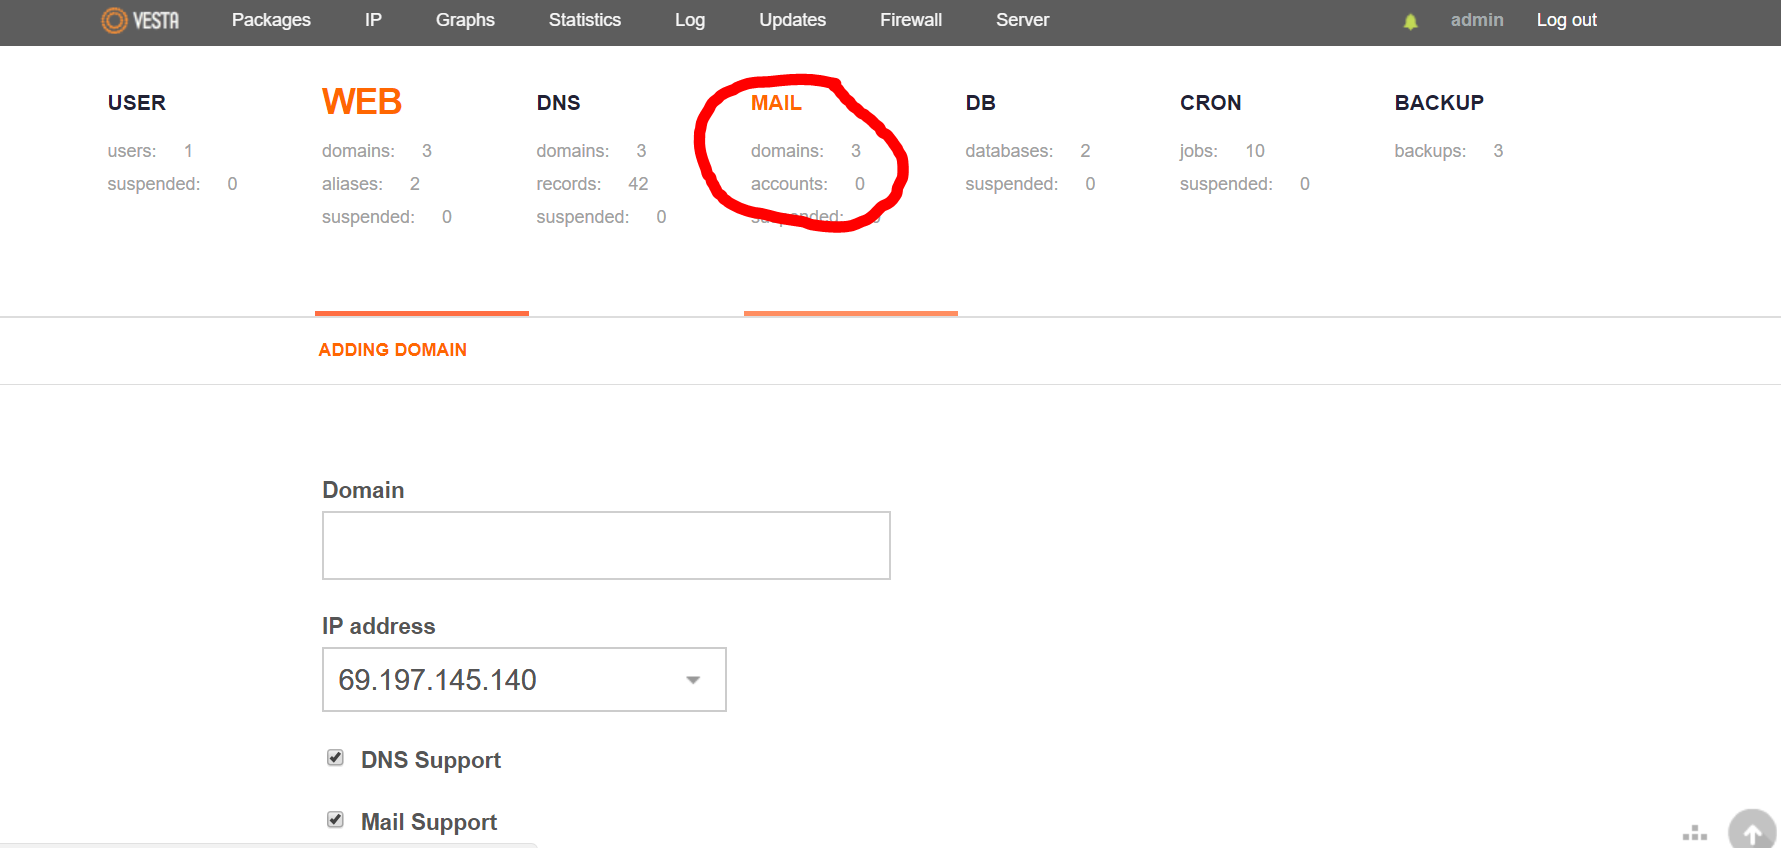
Select your domain to configure mail for. In my case it is tryvps.com.

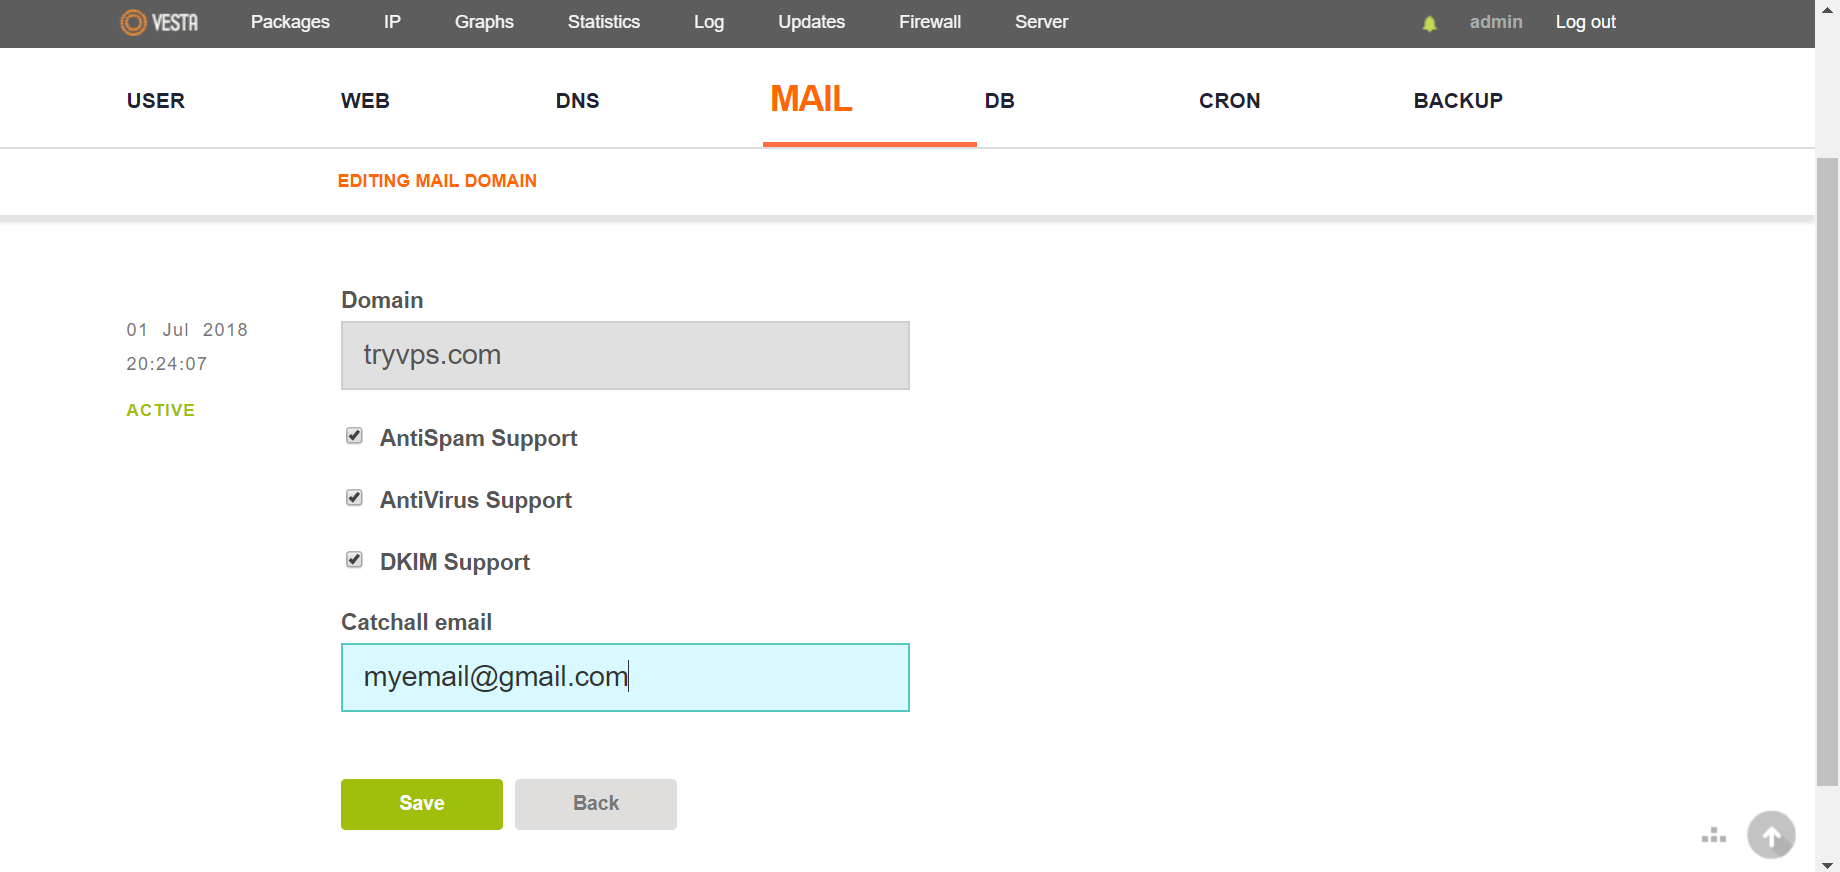
There are two ways to configure the email for a domain. If we use a “catchall” email address all the mail, no matter what the username, will be forwarded to the email address you input into the form. Example user1.tryvps.com and ultimate@tryvps.com will both be forwarded to myemail@gmail.com. See the image below.
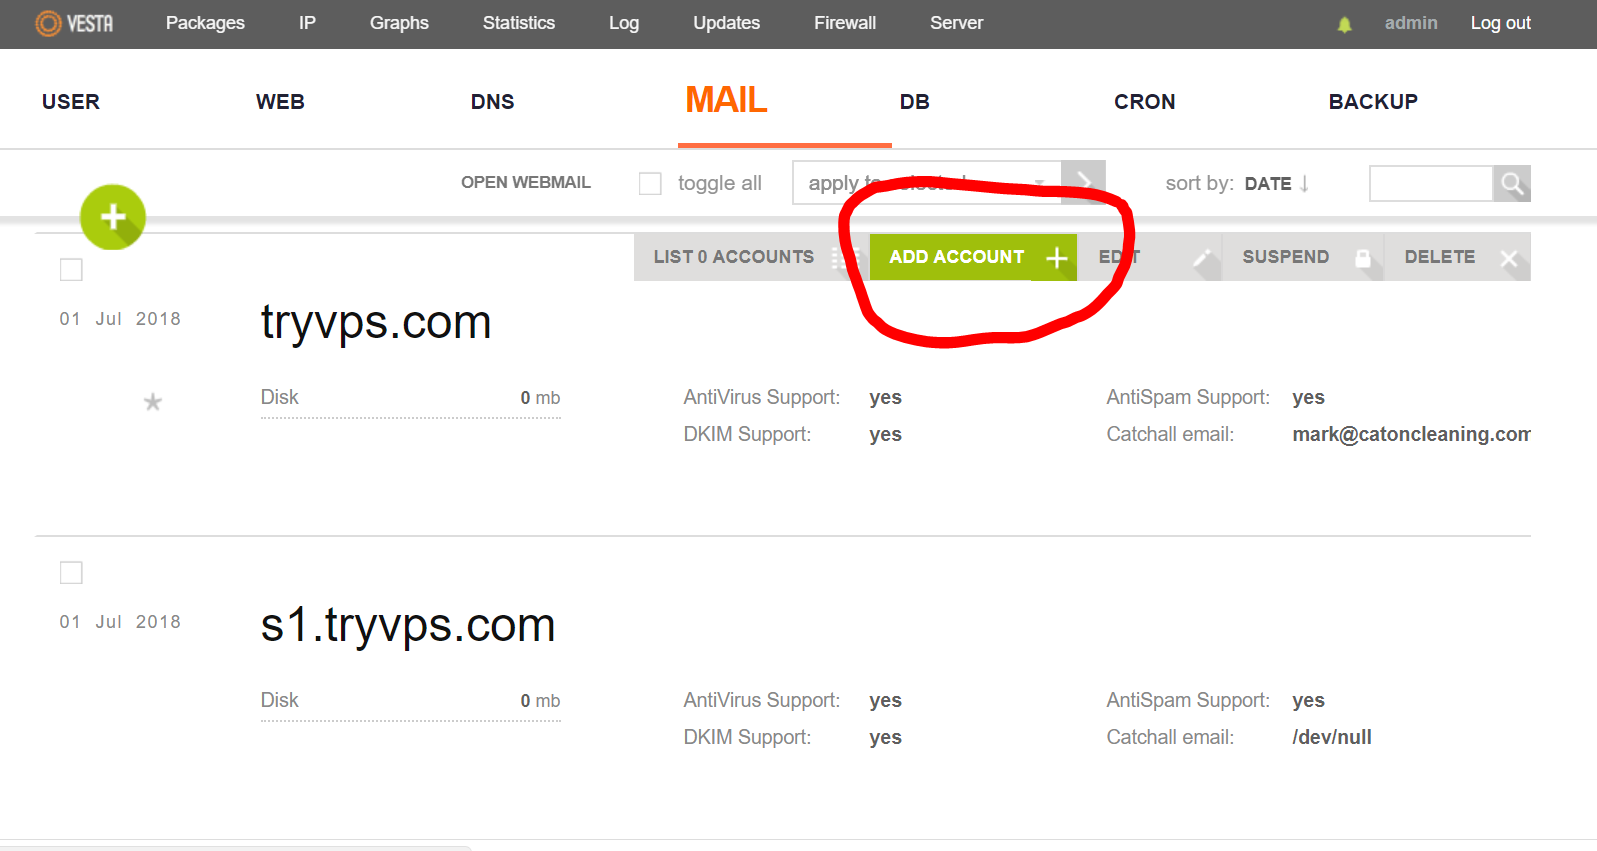
Or we can create account mailboxes and check them through a web interface or email client like Thunderbird or Outlook. To do that we first have to add an account to the domain like below.
You will be presented a page like below. I am making the username “ultimate”, so the email address for this account will be “ultimate@tryvps.com” . Notice the webmail address and server information to the right of the page for retrieving email sent to that address. Click the green “Add” button.
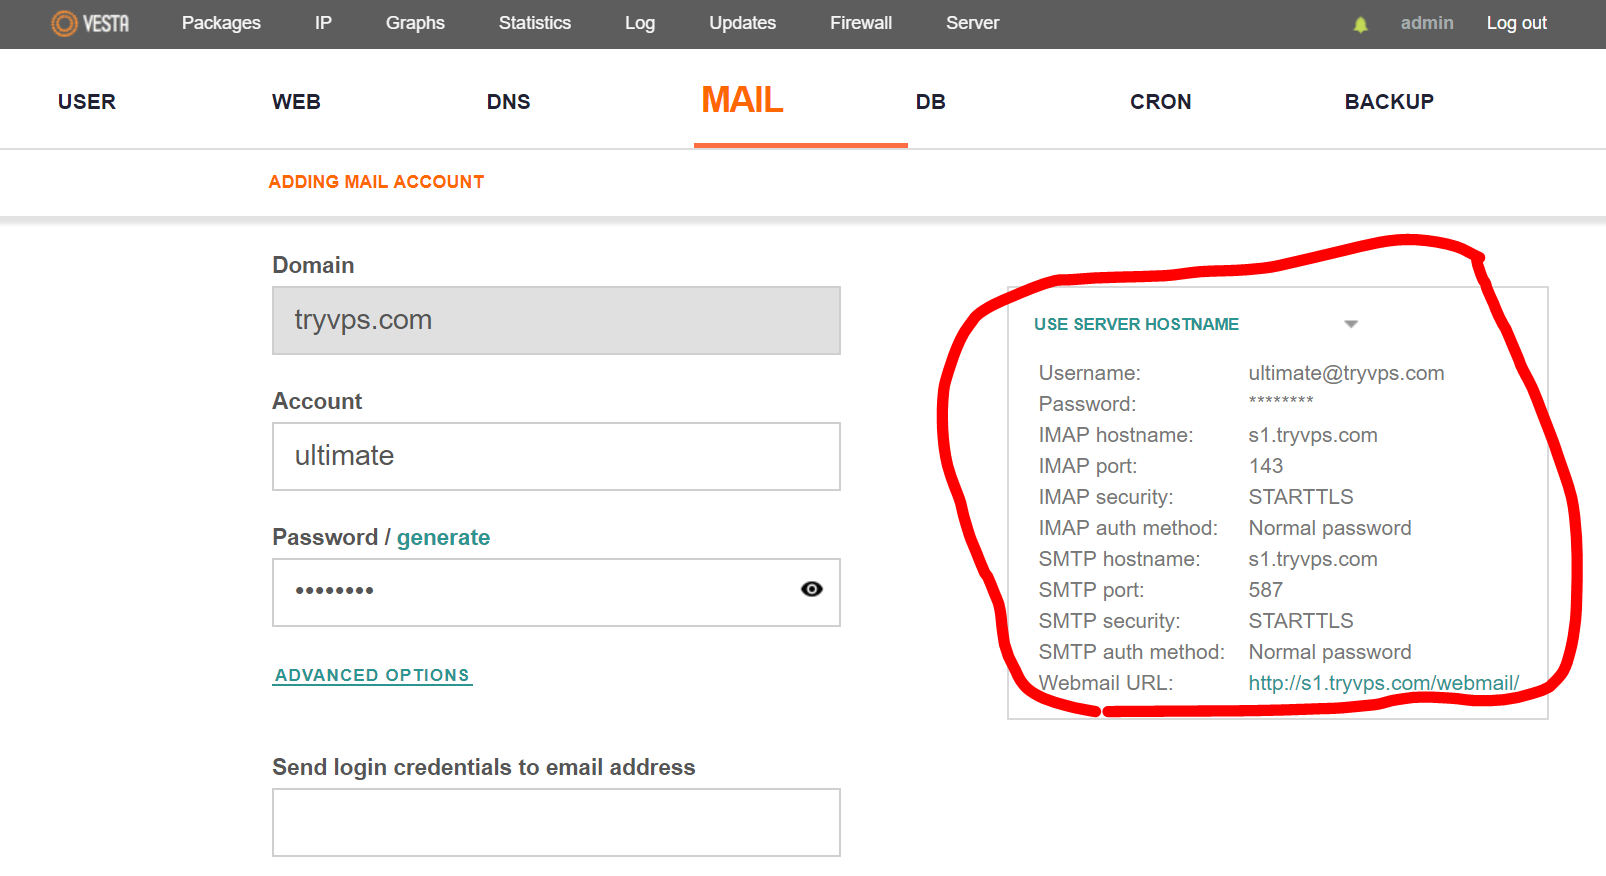
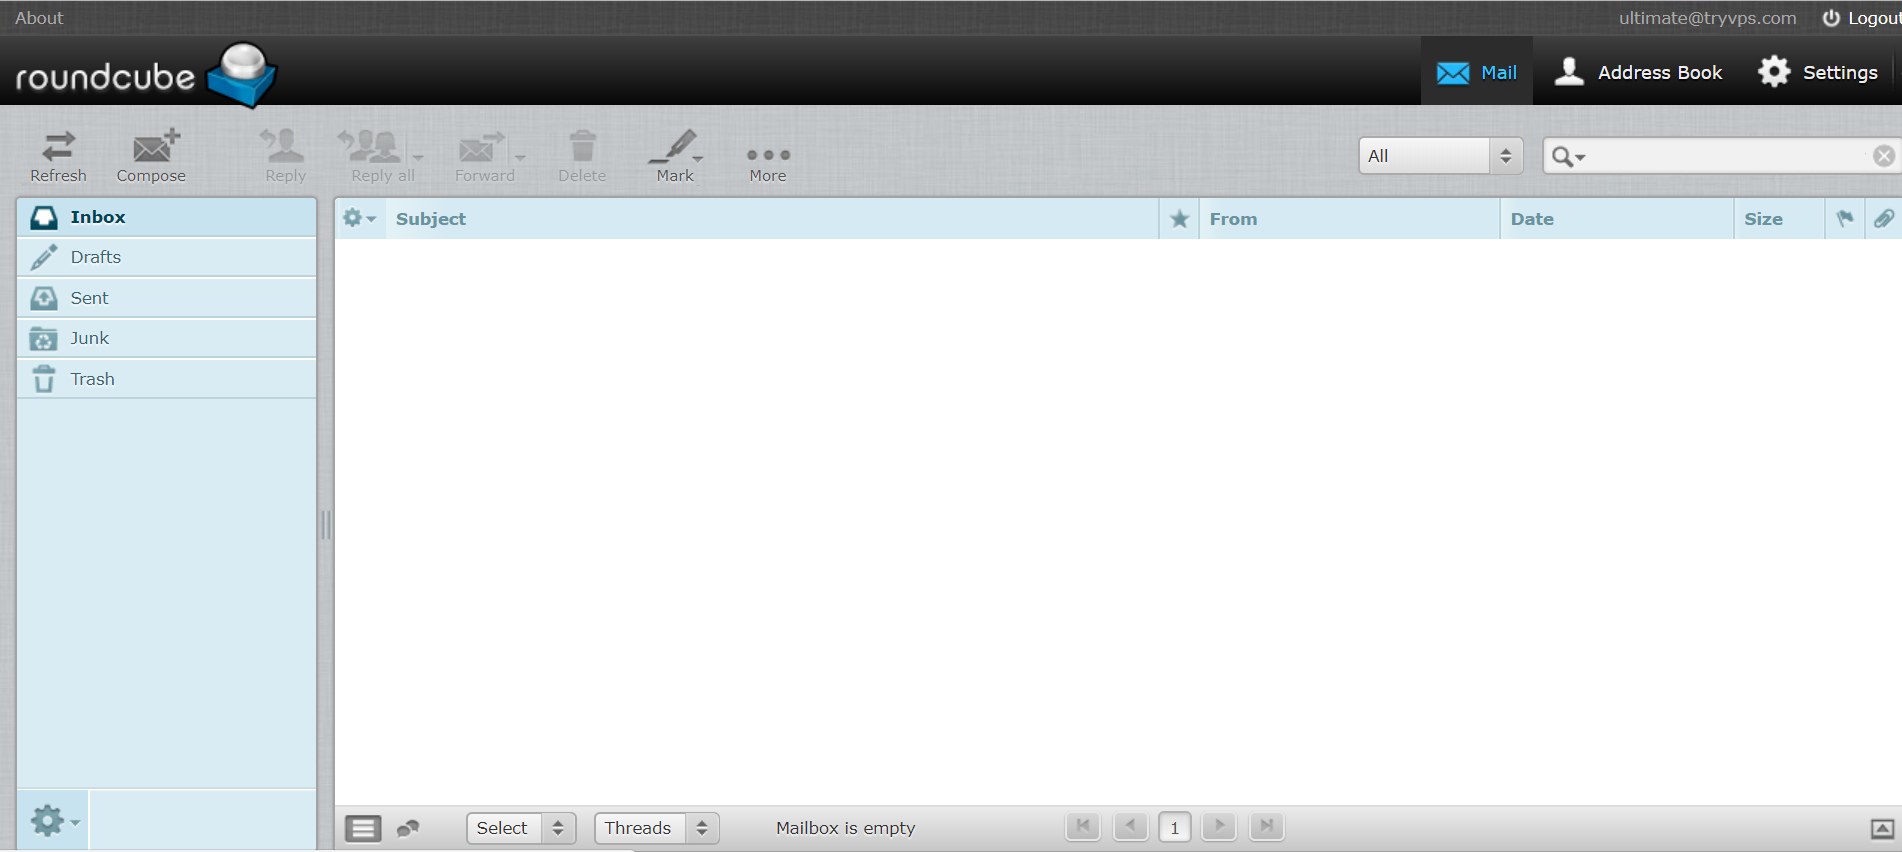
Click the “Webmail URL:” link at the bottom of the server information box and go to the Roundcube webmail interface. Bookmark this page. This is where you can access all the email for this server, just input the email address and password you wish to see the email for. For Username input your complete email address and the password you assigned to that account.
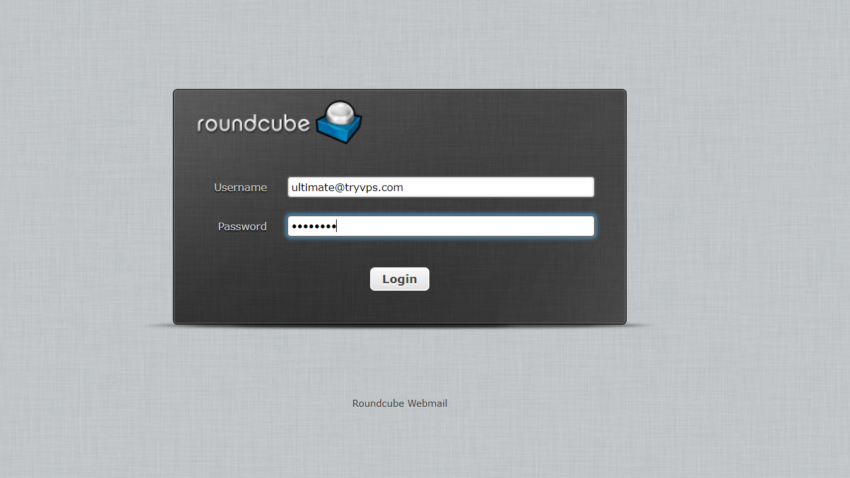
Now you will be presented with the Rouncube webmail interface. You can send and recieve email for the domain and account you created.