Plex Media Server Installation Using Debian 9
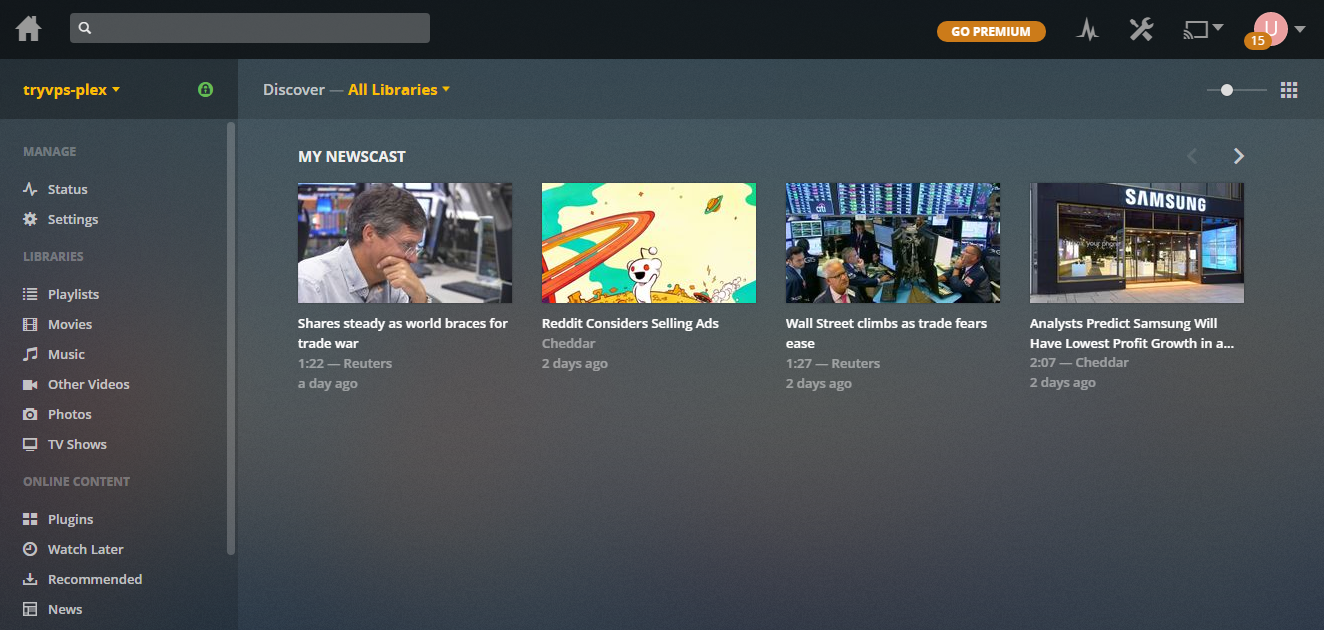
Plex Media Server is an amazing streaming server for all of your videos, music and photos. Install Plex on your server, upload your content, and enjoy it from anywhere on just about any device. From their site: “Your recorded media, live TV, online news, and podcasts, beautifully organized and ready to stream”. Plex is simple to set up, configure and use.
Minimum requirements. Intel Core i3 or better and 2gb ram, more is better. I use a server with an Intel i5 and 16gb ram and have no problems streaming anything I can throw at it.
It is assumed that you have installed VestaCP Control Panel and an XFCE Desktop and way to connect to it (X2go or RDP server), both from previous tutorials. It is possible to install Plex without XFCE and VestaCP, but we already have them installed so why not use them?
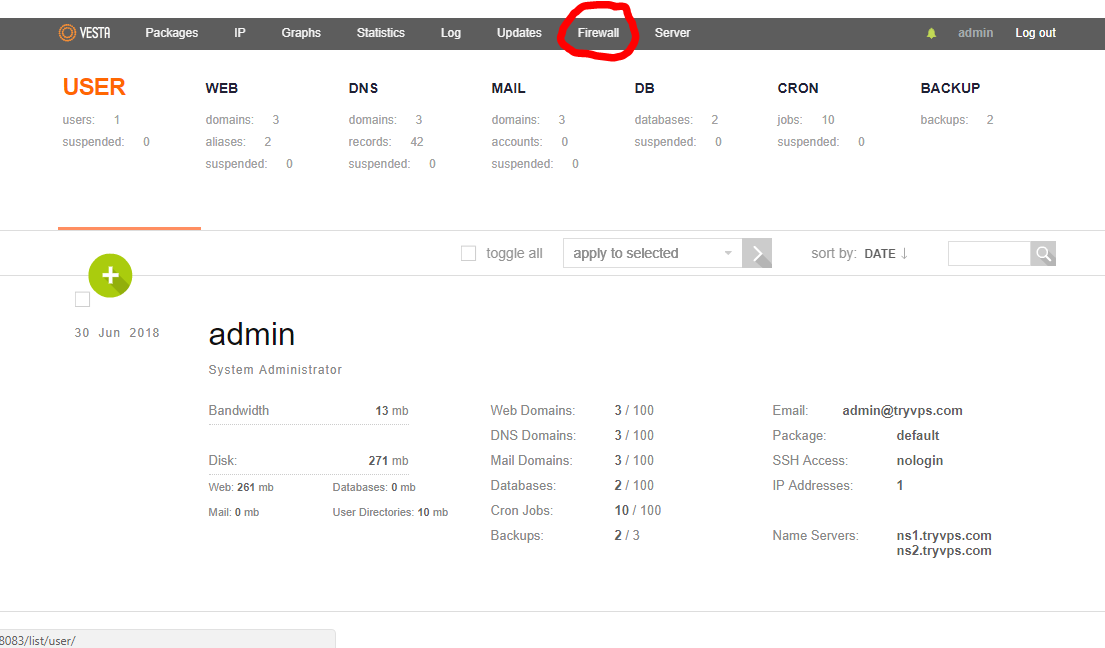
First we need to open port 32400 in our firewall. Open your VestaCP Control Panel and click the “Firewall” Link at the top of the page.
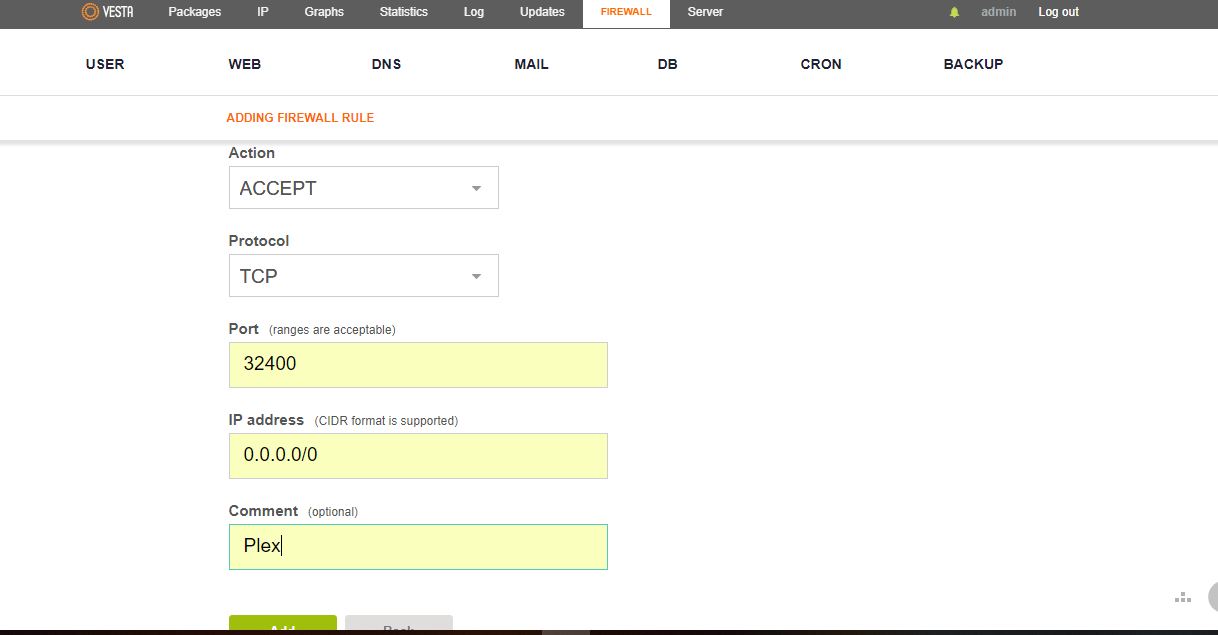
Click the round green “+” ADD RULE button and fill in the firewall info like below.
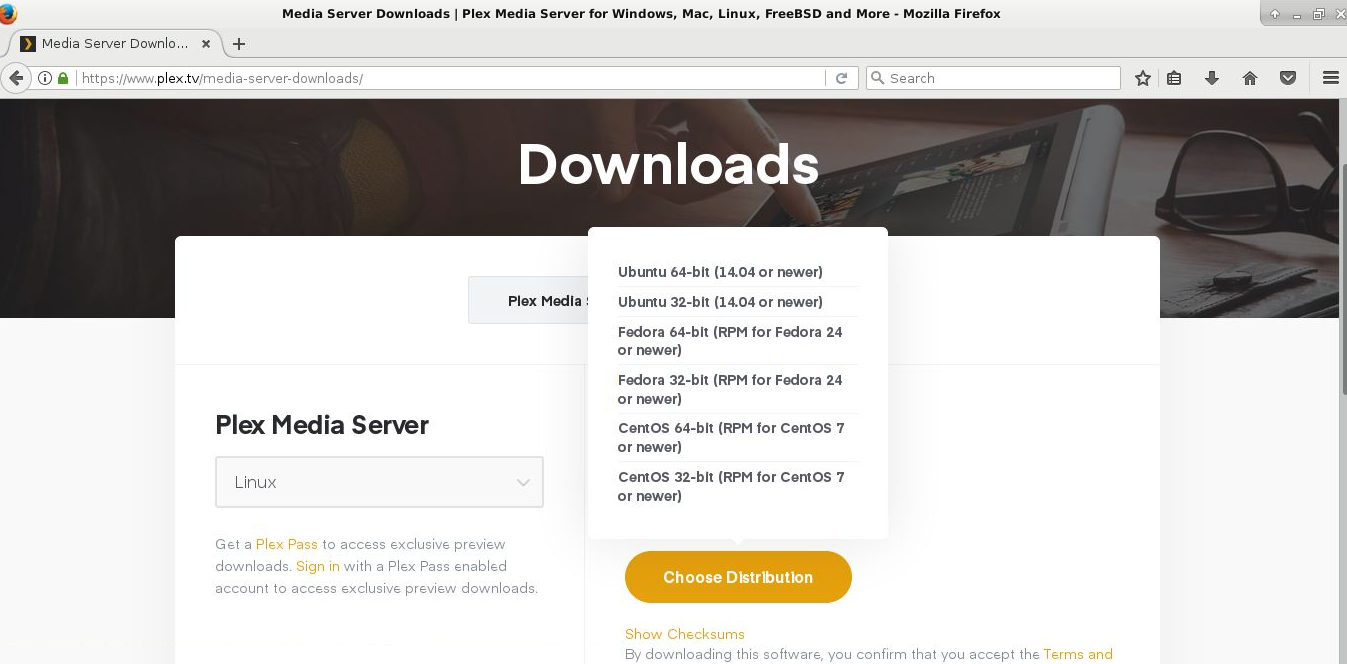
Now we have to download the Plex .deb package to our server. You can download Plex to your local PC and upload it via SFTP to your server or you can use your XFCE remote desktop and Firefox browser to go directly to the Plex site and download it directly to your server. Make sure to get the 64 bit Ubuntu version, as that is the only one which will work on Debian 9.
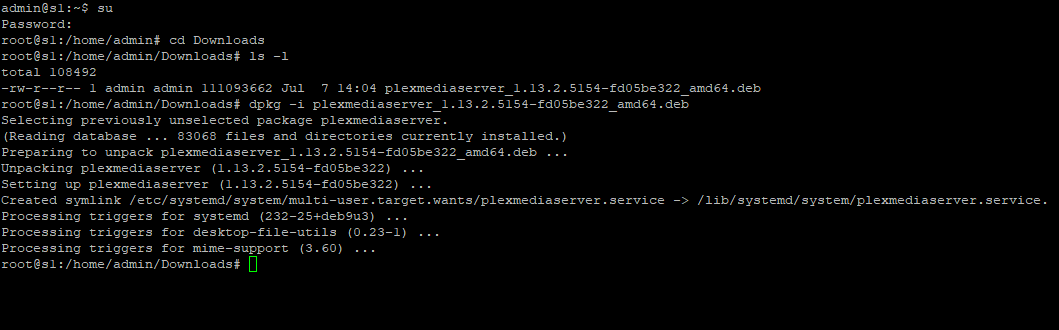
SSH in to your server as user admin and SU to root. Change directory to where you uploaded the Plex script. If you downloaded it by your XFCE desktop amd Firefox browser it will be in the /home/admin/Downloads/ directory.
cd Downloads
To see the contents of that directory type:
ls -l
You should see your Plex .deb package listed.
To install Plex type dpkg -i plexmediaserver_version.deb In my case it would be
dpkg -i dpkg -i plexmediaserver_1.13.2.5154-fd05be322_amd64.deb
hit the “enter” key and install the package.
Now X2go or RDP in to your server XFCE desktop and go to http://127.0.0.1:32400/manage in your XFCE desktop browser. I have found that the Setup Wizard doesn’t appear unless you connet to it by the server remote desktop browser.
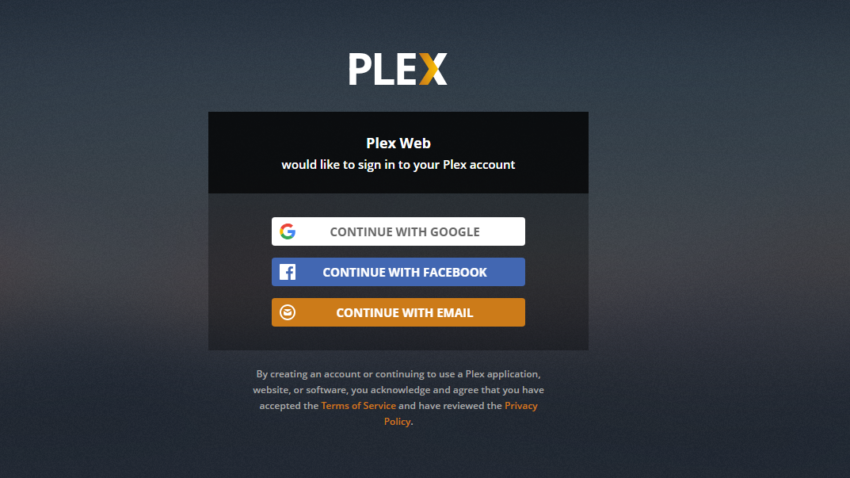
Click “CONTINUE WITH EMAIL” then click the “signup with email” link at the bottom of the page.
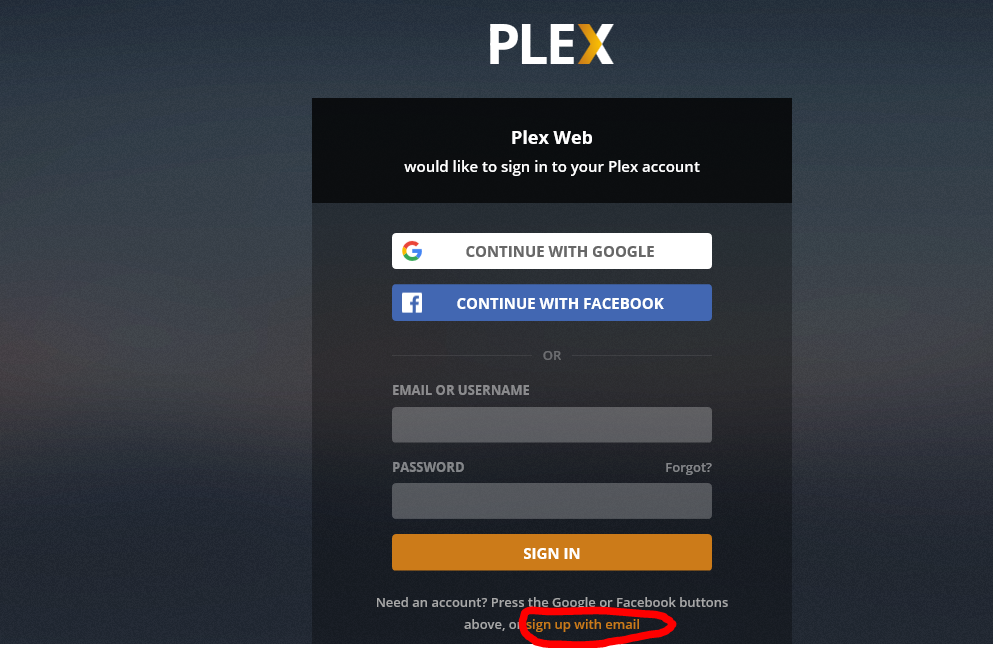
Make an account with your email address and the password you would like to access your Plex server with. Create a new one if you don’t have one. Its free.

Click the “OK GOT IT” button at the bottom and configure your server. Make up an easy to remember name for your Plex Server. Make sure the “Allow me to access my media outside my home” box is ckecked and click the “NEXT” button.

Now we configure the directories for our media. I created three folders in /home/admin/Videos/ . I created the folders Movies, TV and MyVideos . The folders /home/admin/Music and /home/admin/Pictures already existed.
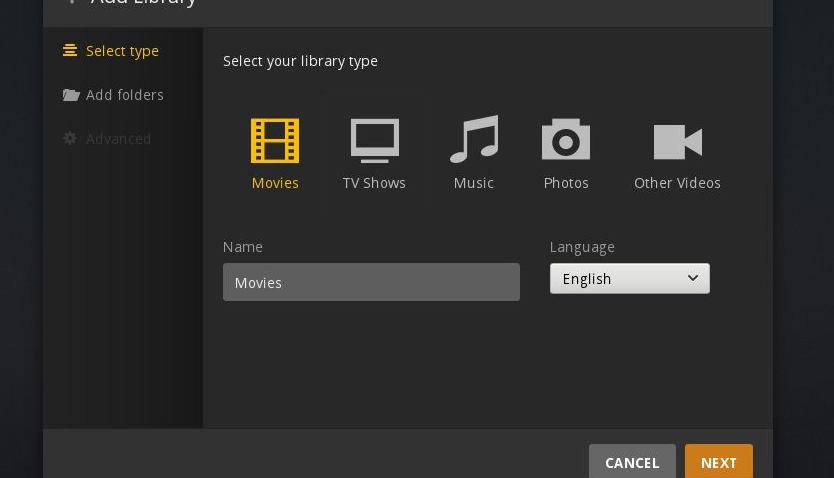
Click the “ADD LIBRARY” button.
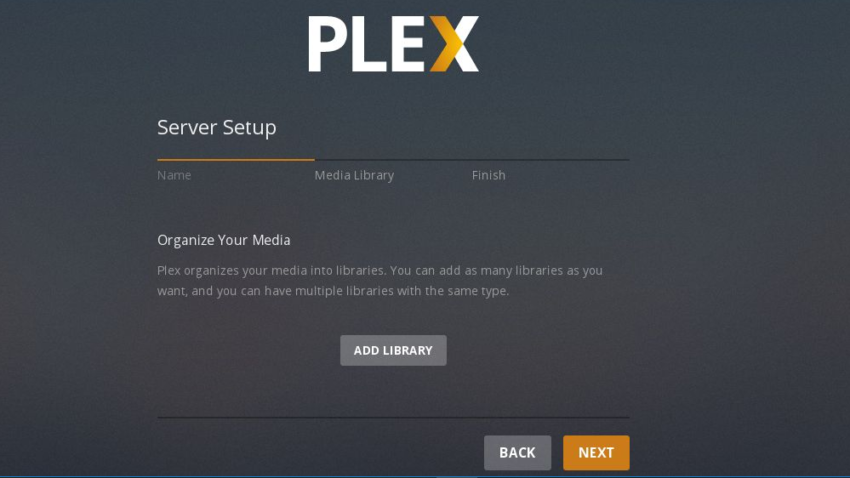
Click the “Movies” icon then the “NEXT” button.
Click the “BROWSE FOR MEDIA FOLDER” button and navigate to your Movie directory, which in this demonstration’s case is /home/admin/Videos/Movies
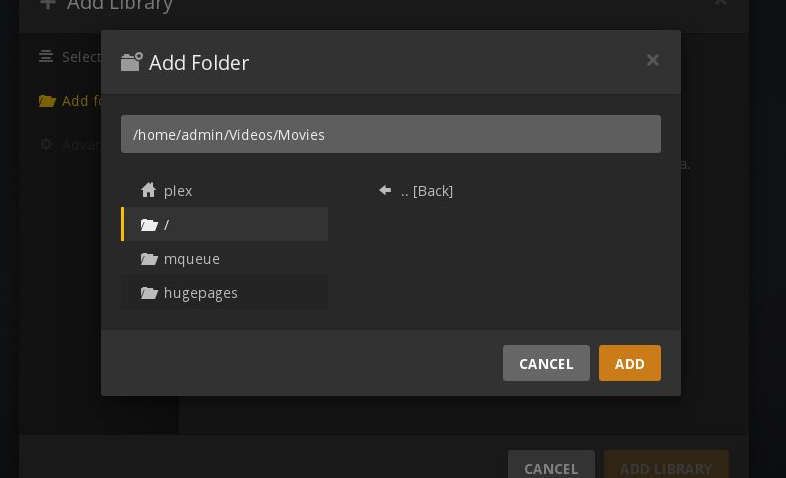
Click the “ADD” button . Now do the same for the other libraries.
/home/admin/Videos/TV for TV Shows
/home/admin/Music for Music
/home/admin/Pictures for photos
/home/admin/Videos/MyVideos for Other Videos
When all your libraries are configured click the “NEXT” button. Download any of the apps you desire and click thr “DONE” button. You may now upload content to your server and access it through your browser or app. http://s1.tryvps.com:32400 or http://your_IP_number:32400 .