WordPress Installation using Debian 9 and VestaCP Control Panel
“WordPress is open source software you can use to create a beautiful website, blog, or app.” From their website.
About a quarter of all websites use WordPress. Here I will demonstrate an easy to follow tutorial on how to install WordPress on your server using the VestaCP control panel and SSH. We will create an Mysql database then install WordPress. It is assumed that you already have VestaCP Control Panel installed and a domain set up.
To make an Mysql database:
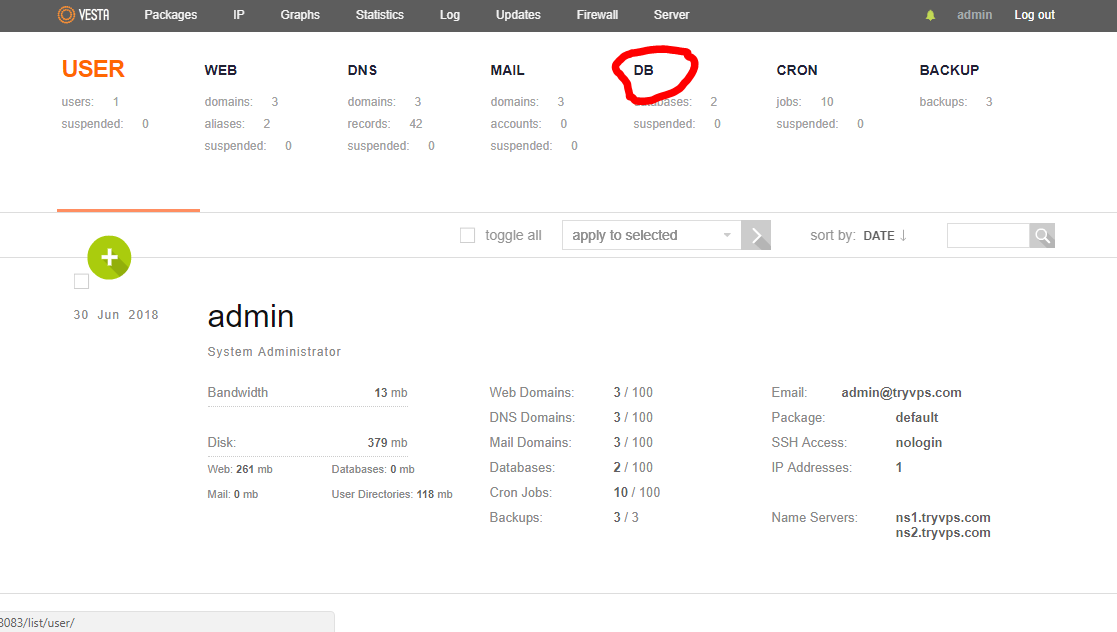
Go to your VestaCP Control Panel and login (we will be using the default “admin” account for this). After you are logged in click the “DB” link at the top:
Click the round green “+” ADD DATABASE link and fill in the information for the database like below.
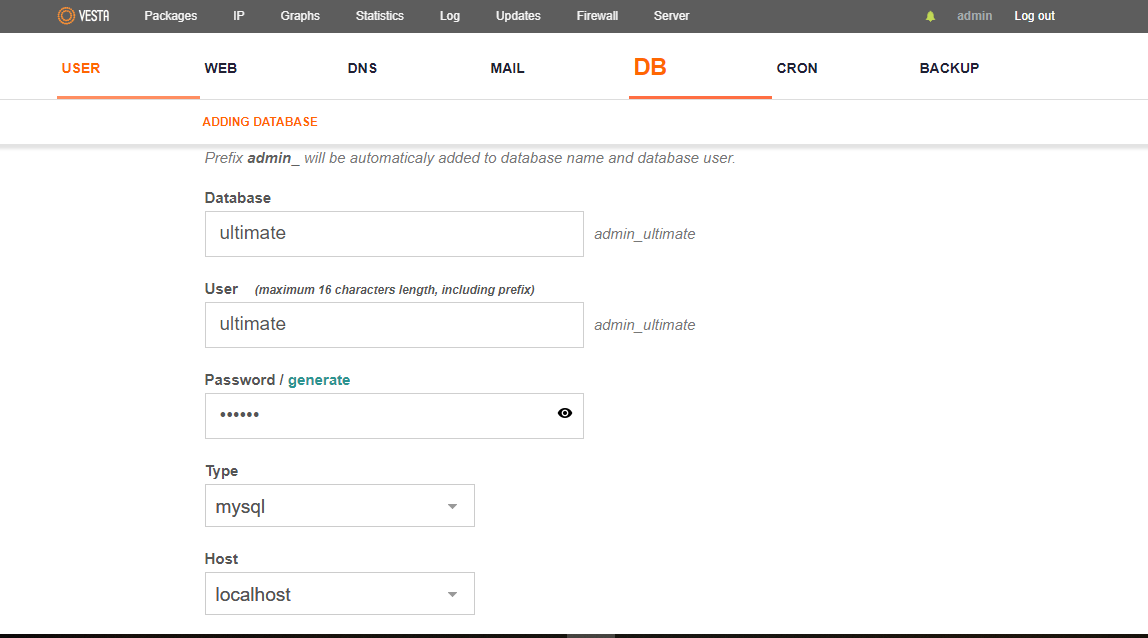
Database = ultimate (can be anything, whatever you want to name it )
User = ultimate (can be anything, whatever you want to name it )
Password / generate – any password you want, will be used to set up WordPresss so remember it.
Type = mysql
Host = localhost
Charset = utf8
Send login credentials to email address = any email address you like
Click the Green “ADD” button.
Now that we have the database created we can setup our WordPress script.
WordPress installation:
SSH into your server, we are using the admin account and the domain tryvps.com in this demonstration. We will be setting up WordPress in the root of the domain. /web/tryvps.com
cd web/your domain.com in the case of this demo /web/tryvps.com
wget https://wordpress.org/latest.zip
Delete the public_html directory
rm -rf public_html
unzip the WordPress script
unzip latest.zip
Rename the WordPress public=html
mv wordpress public_html
In your browser go to the url of your wordpress installation, in the case of this tutorial http://tryvps.com
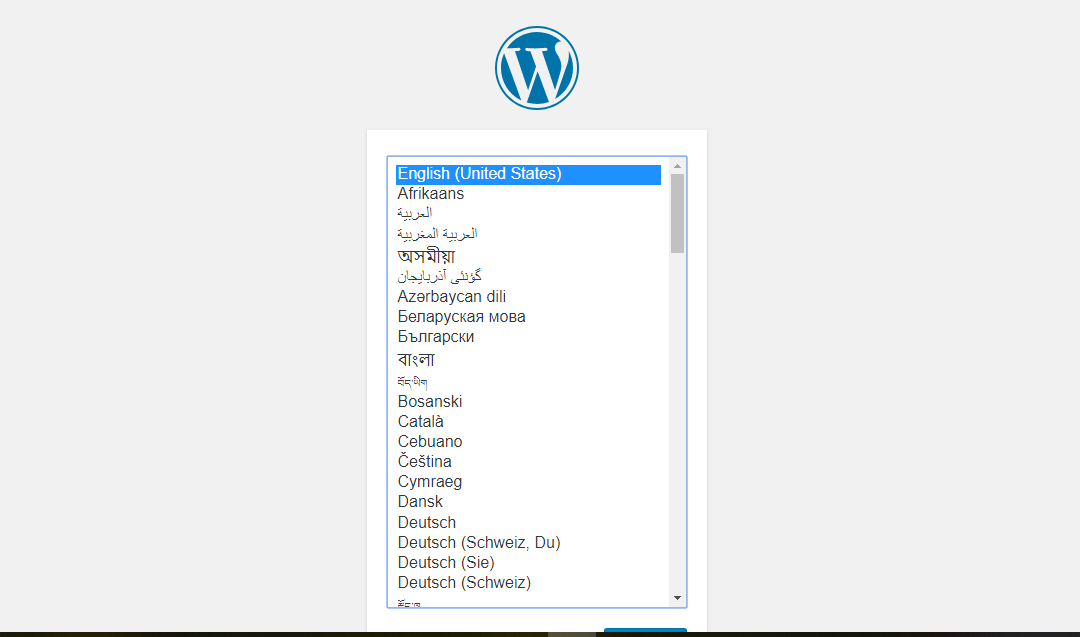
Choose your language and click the blue “Continue” button at the bottom.
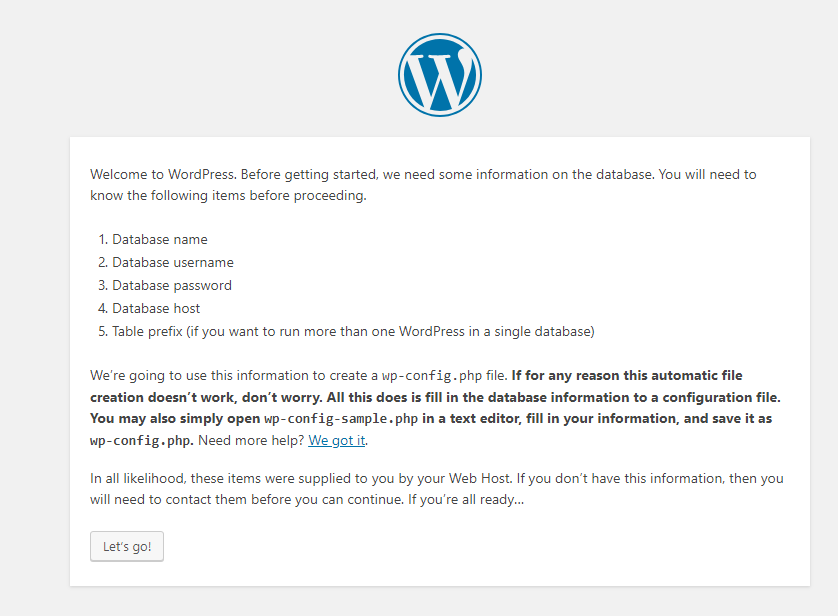
You will see a page like above if all is going well, click the “Let’s go!” button and fill in the form like below.
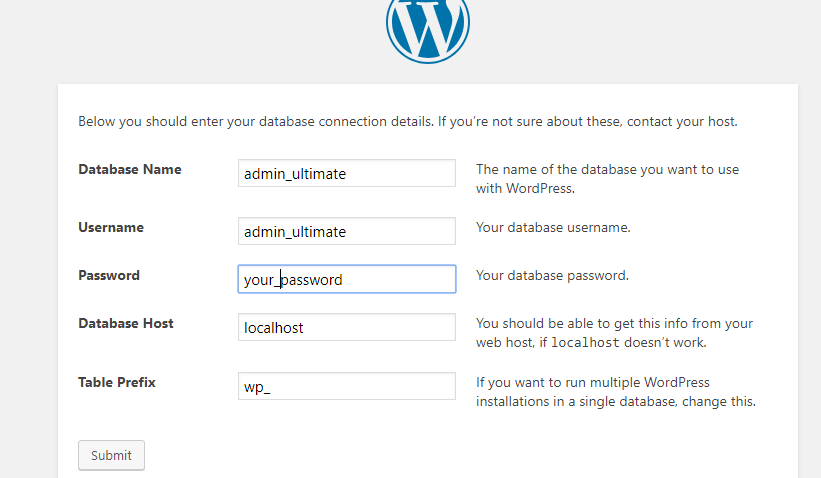
Remember that VestaCP adds the prefix “username_” to the name of the database. So in this case I named the database and the user “ultimate” so they are both “admin_ultimate”.
Database Name: Whatever you named your database with “username_” as a prefix
Username: The username of the database you created with “username_” as a prefix
Password: The password you gave your database when you created it.
Database Host: localhost (leave default)
Table Prefix: wp_ (leave default)
Click the “Submit” button and if all the information you entered was correct you will be sent to this page:

Click the “Run the installation” button. If all went well you should see this page next. Fill in the site title, the username and password you would like to use for this WordPress installation and your email address you would like your login information sent to. Leave the “Search Engine Visibility” field unchecked if you would like the search engines to visit your site and list it in their results.

Click the “Install WordPress” button at the bottom of the page and after a few seconds you should see this page:
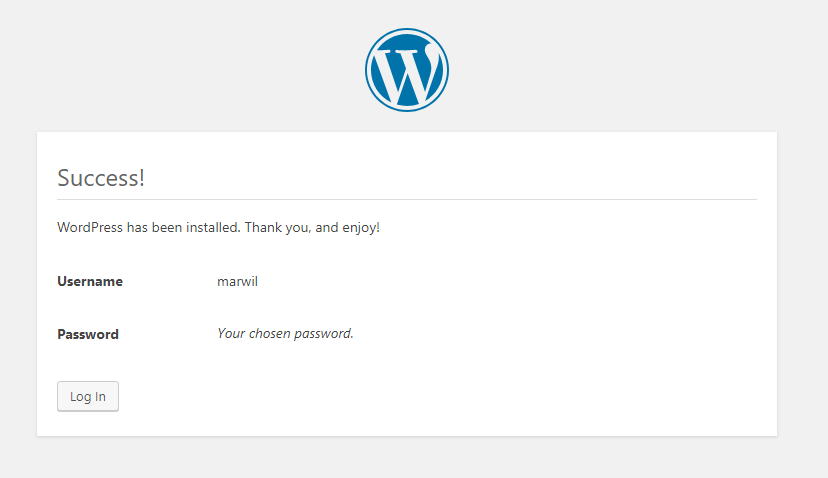
Click the “Log In” button and you will be sent to the login page of your WordPress Installation. Enter the Username and password you just created and login to your WordPress site. You may want to bookmark this login page.
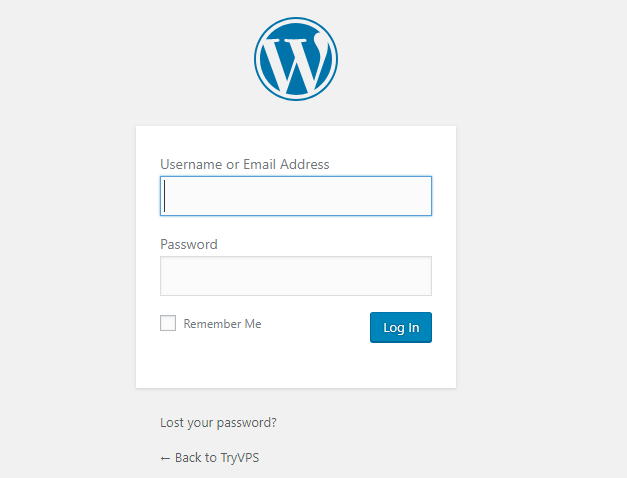
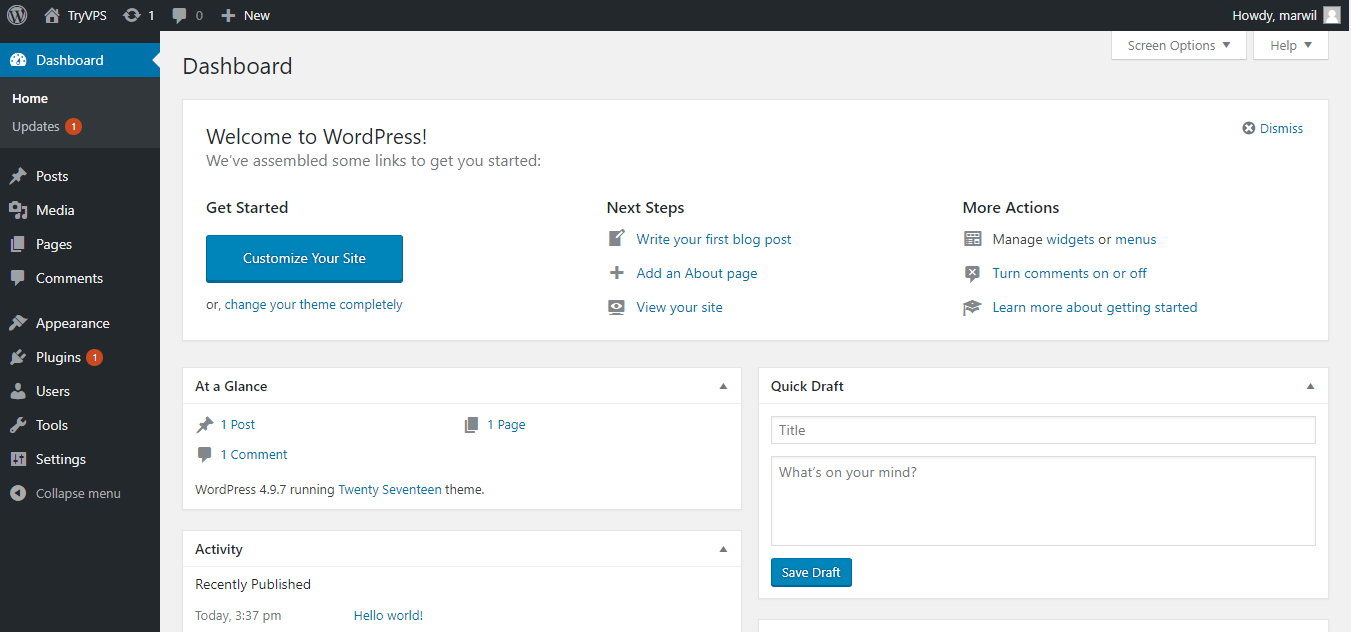
After you login you will be at your WordPress installation dashboard. You’re on your own from here. Good luck and I hope your site is successful.